
Test in-app purchases in Google Play Store
A Full Guide to Sandbox Testing In-App Purchases on Google Play Store
Testing in-app purchases (IAPs) in your Android app can be a crucial step before releasing your app to the public. Sandbox testing is a safe and efficient way to test IAPs without charging real money to your users. In this guide, we'll walk you through the process of sandbox testing IAPs on the Google Play Store for Android.
Test your app on a real device
To ensure optimal performance of your Android app, it's recommended that you test it on a real device instead of an emulator. While we have successfully tested on emulators, Google recommends using a real device.
If you do decide to use an emulator, make sure that it has Google Play installed. This will help ensure that your app is functioning properly.
Create a test user for app testing
To facilitate testing during later stages of development, you'll need to create a test user. This user will be the first account you log in with on your Android testing device.
Note that the primary account on an Android device can only be changed by performing a factory reset. Therefore, it's important to create a separate test user account to avoid having to perform a factory reset on your device.
Configure licence testing for your app
Once you've created a test user account, you'll need to configure licensing testing for your app. To do this, follow these steps:
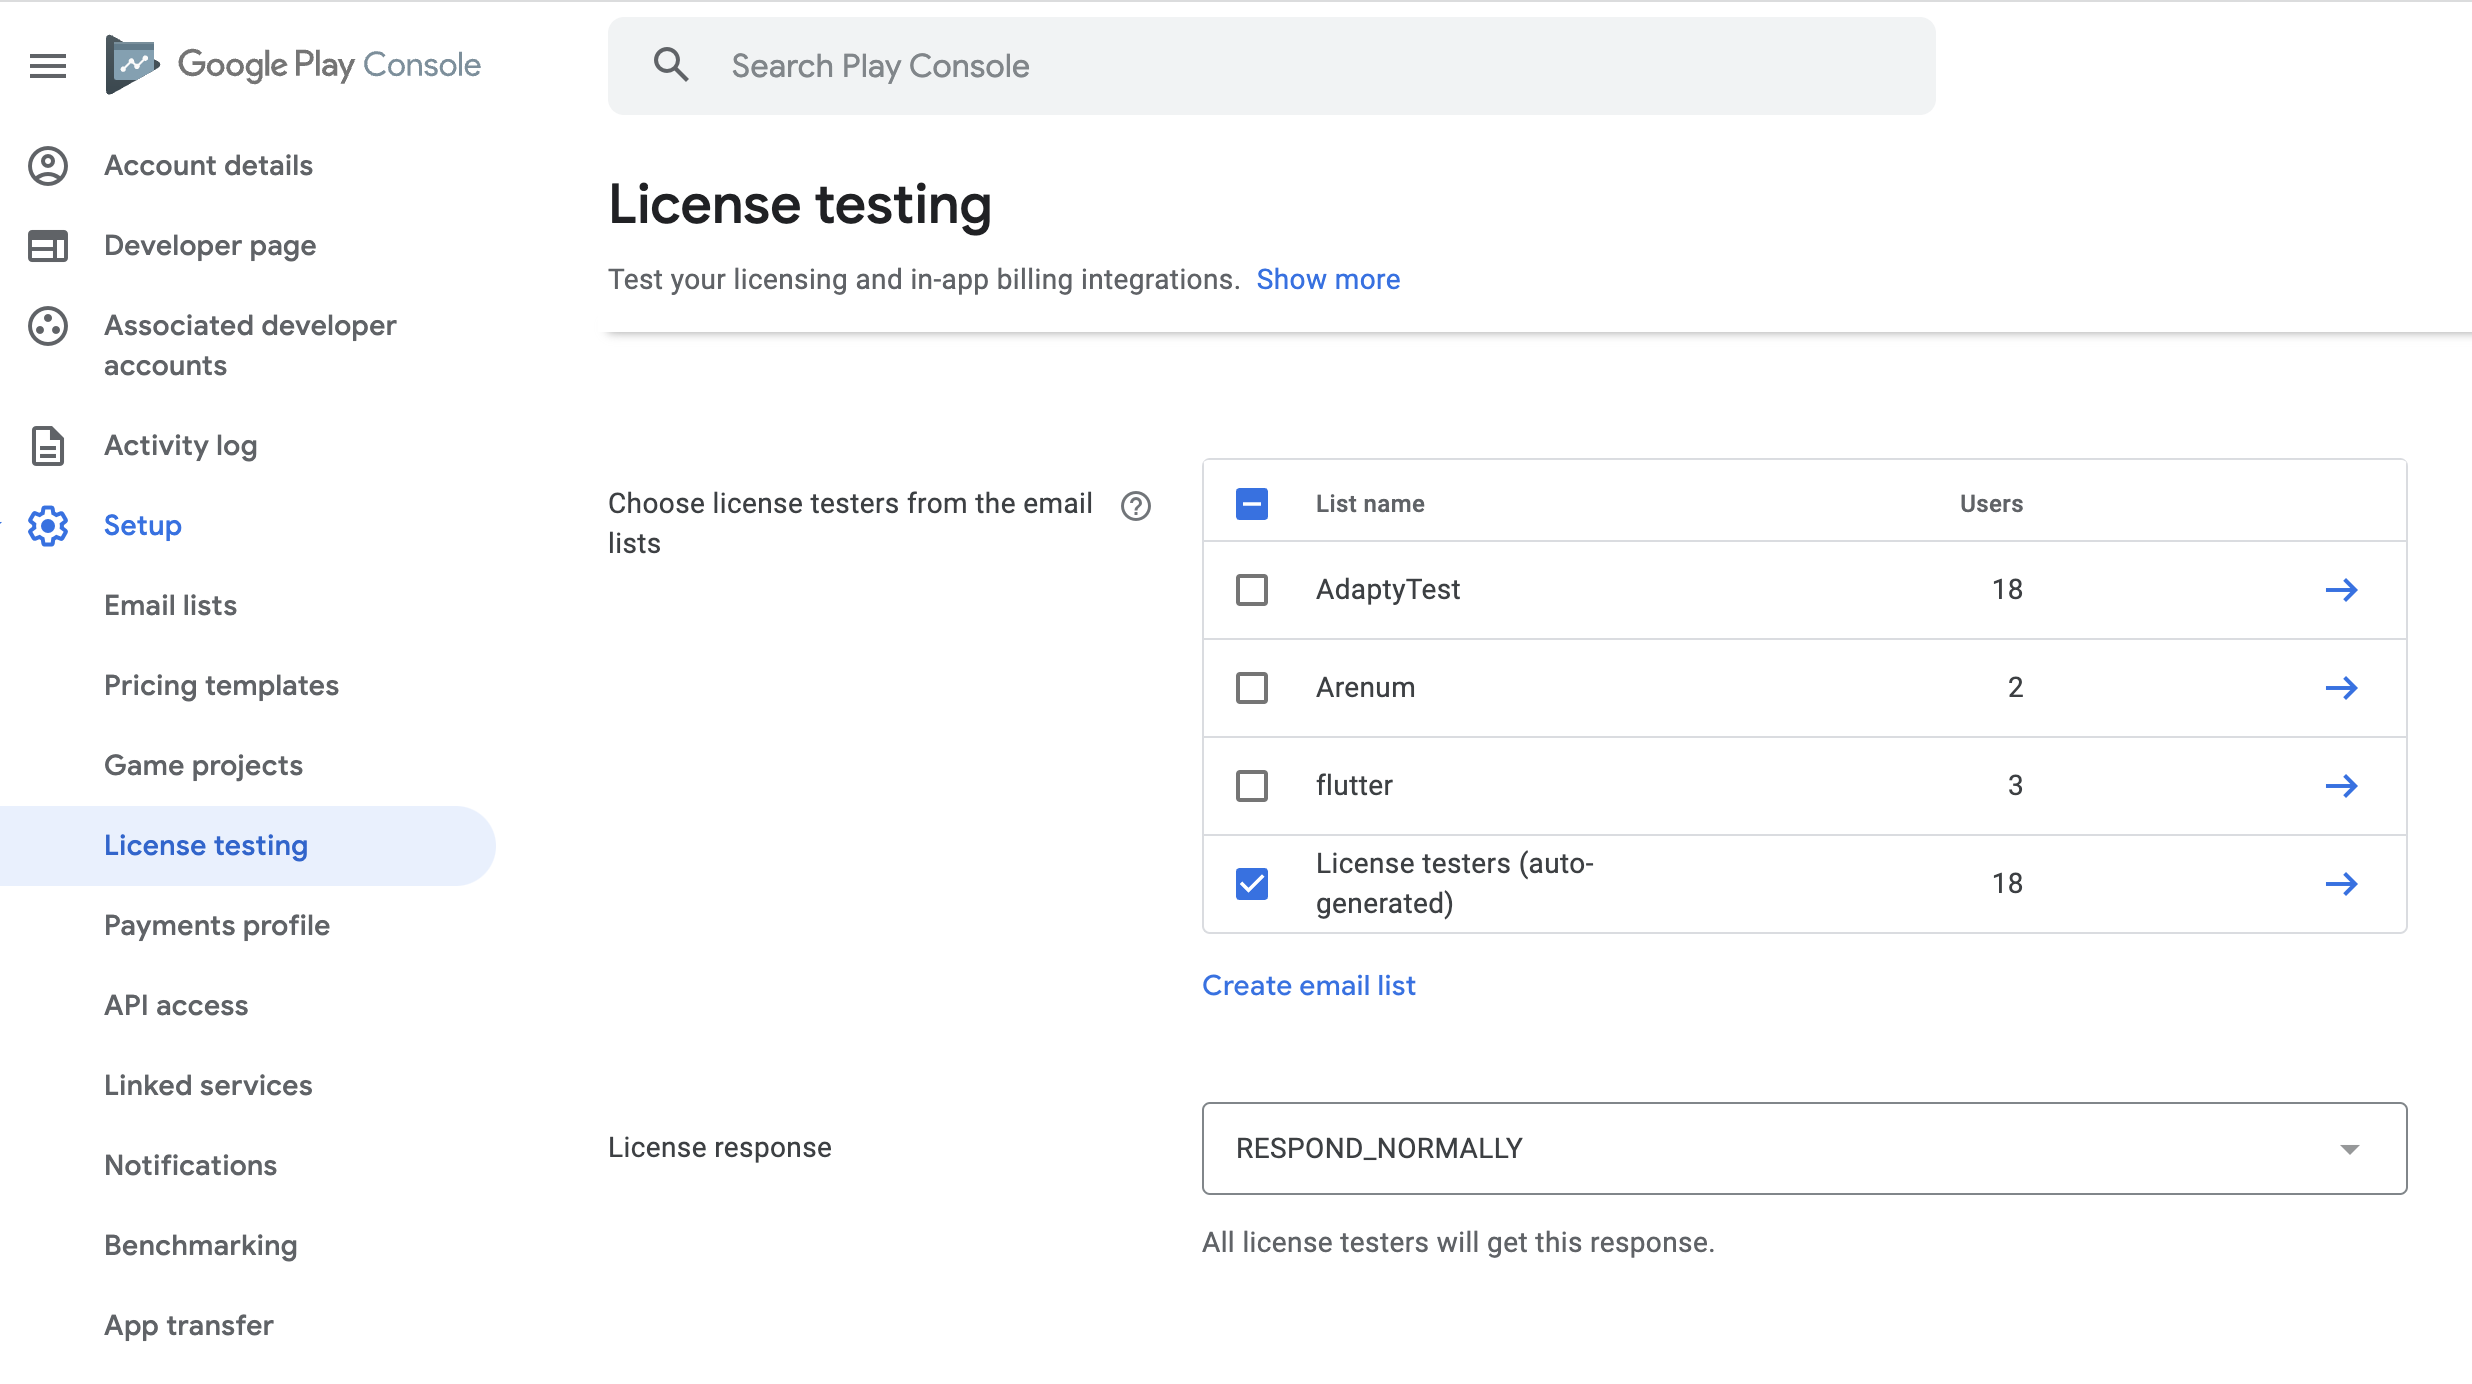
- In the Console sidebar, navigate to Setup.
- Select License testing.
- Add the account that you're using on your real device (i.e., the account you're currently logged in with) to the list.
This will allow you to configure licensing testing for your app and ensure that it's functioning properly.
In our example, we already have a list of testers:
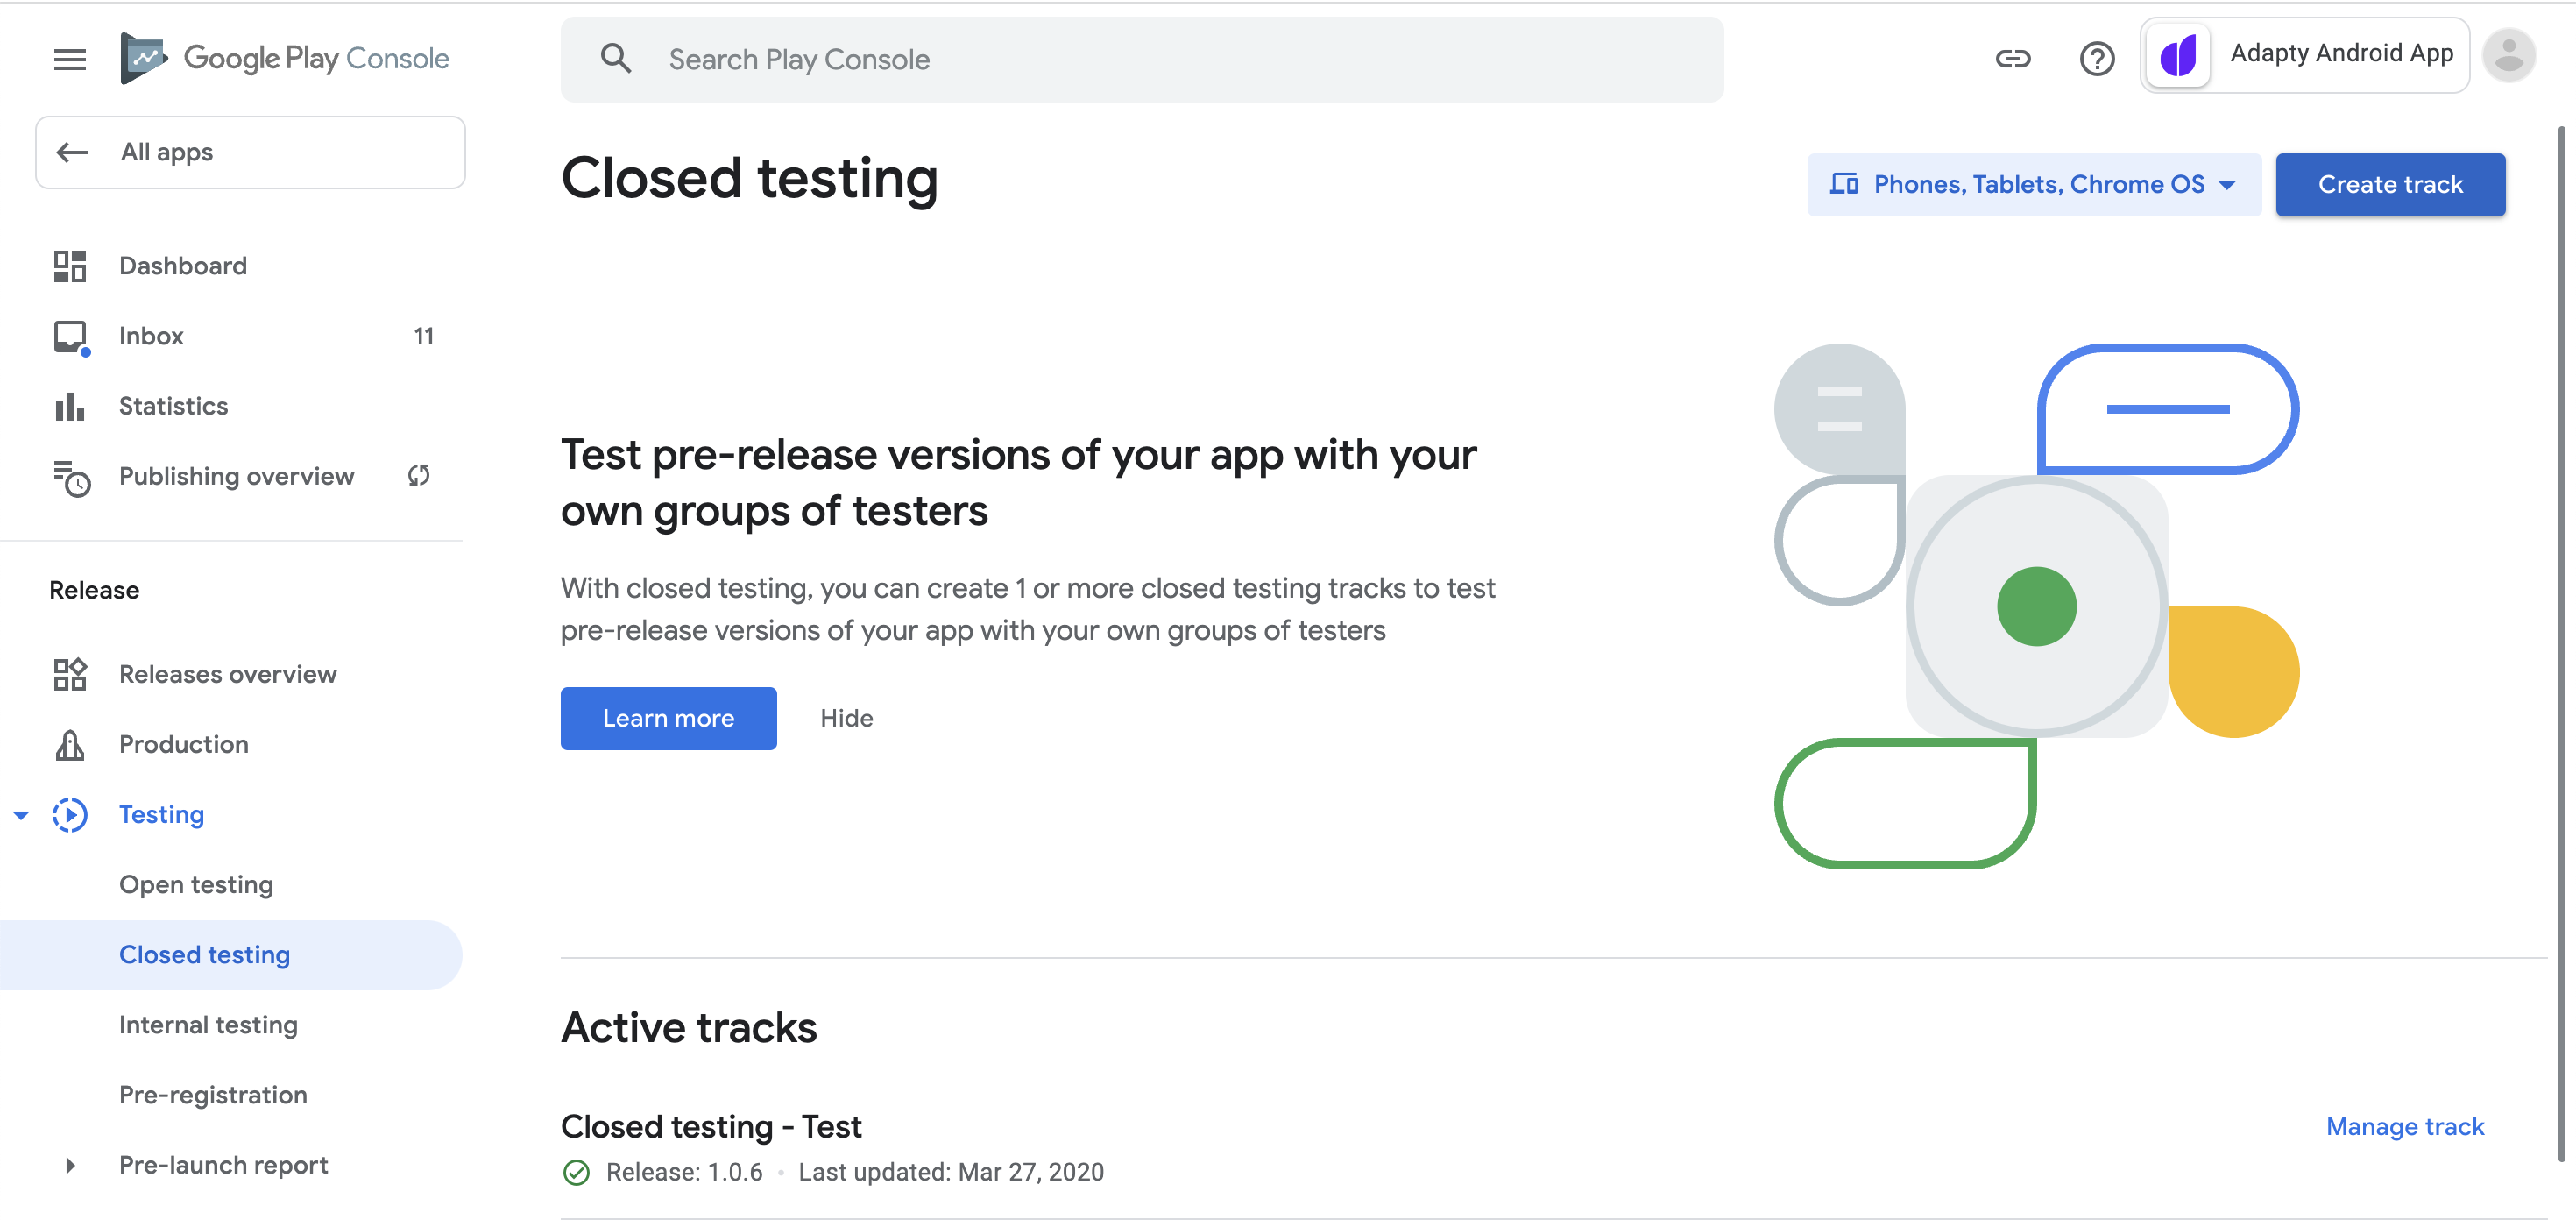
Create a closed track and add the test user to it
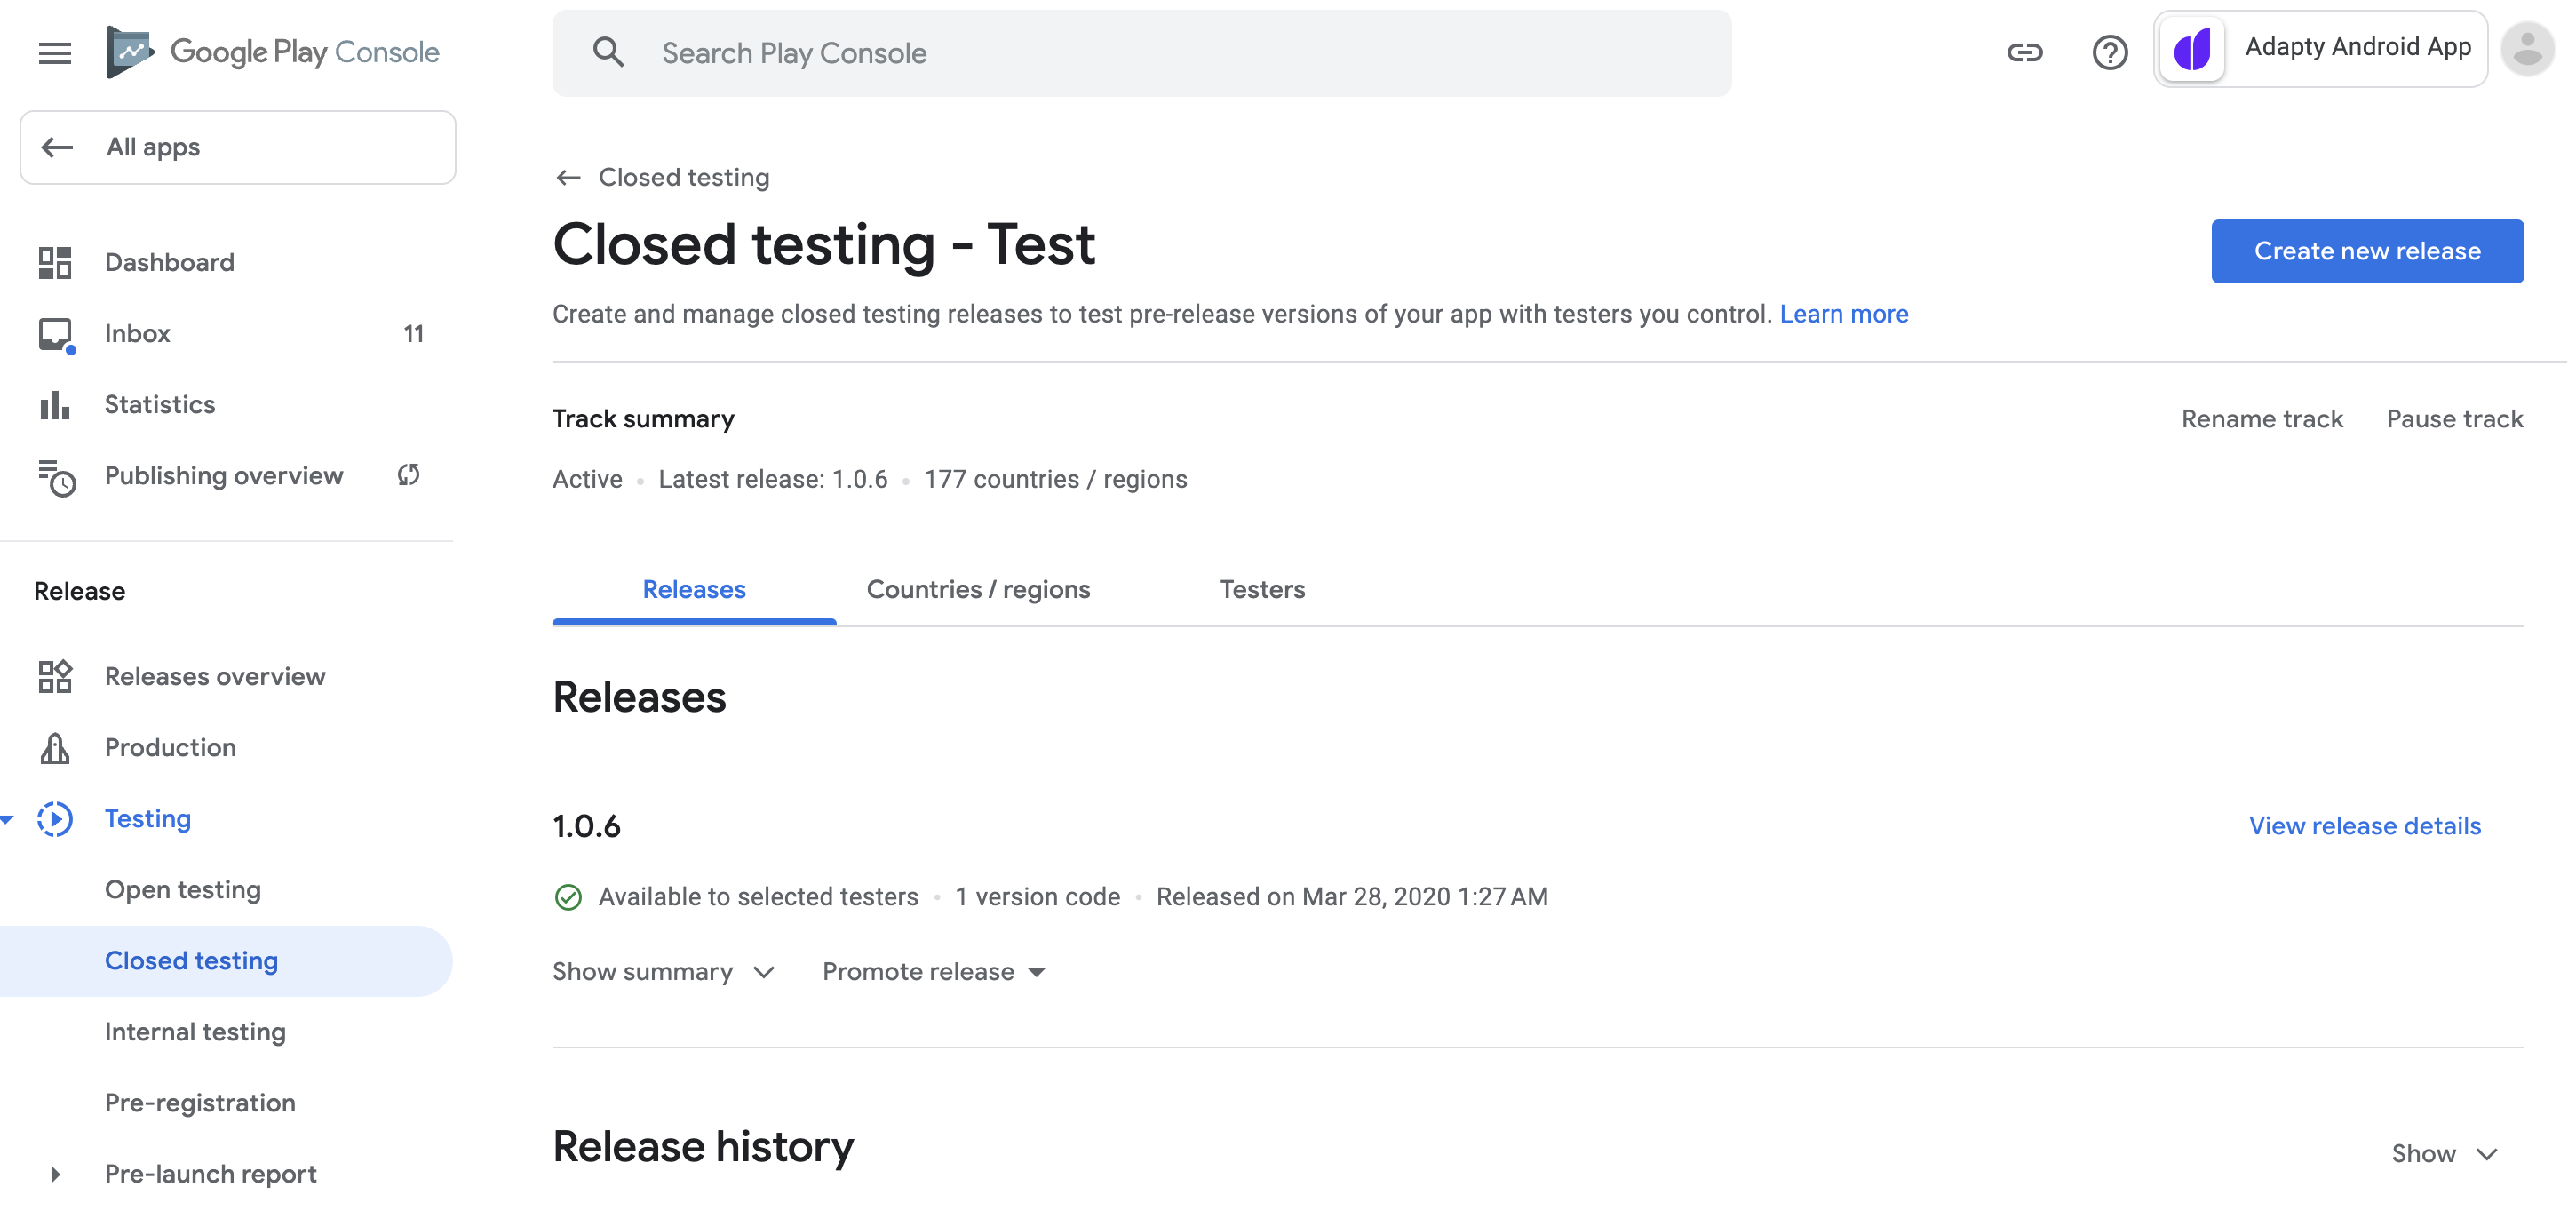
- Publish a signed version of your app to a closed track. If you haven't created a closed track yet, you can create one in the Closed testing section of the Testing menu.
Just as previously, you can use one of the existing lists or create a new one:
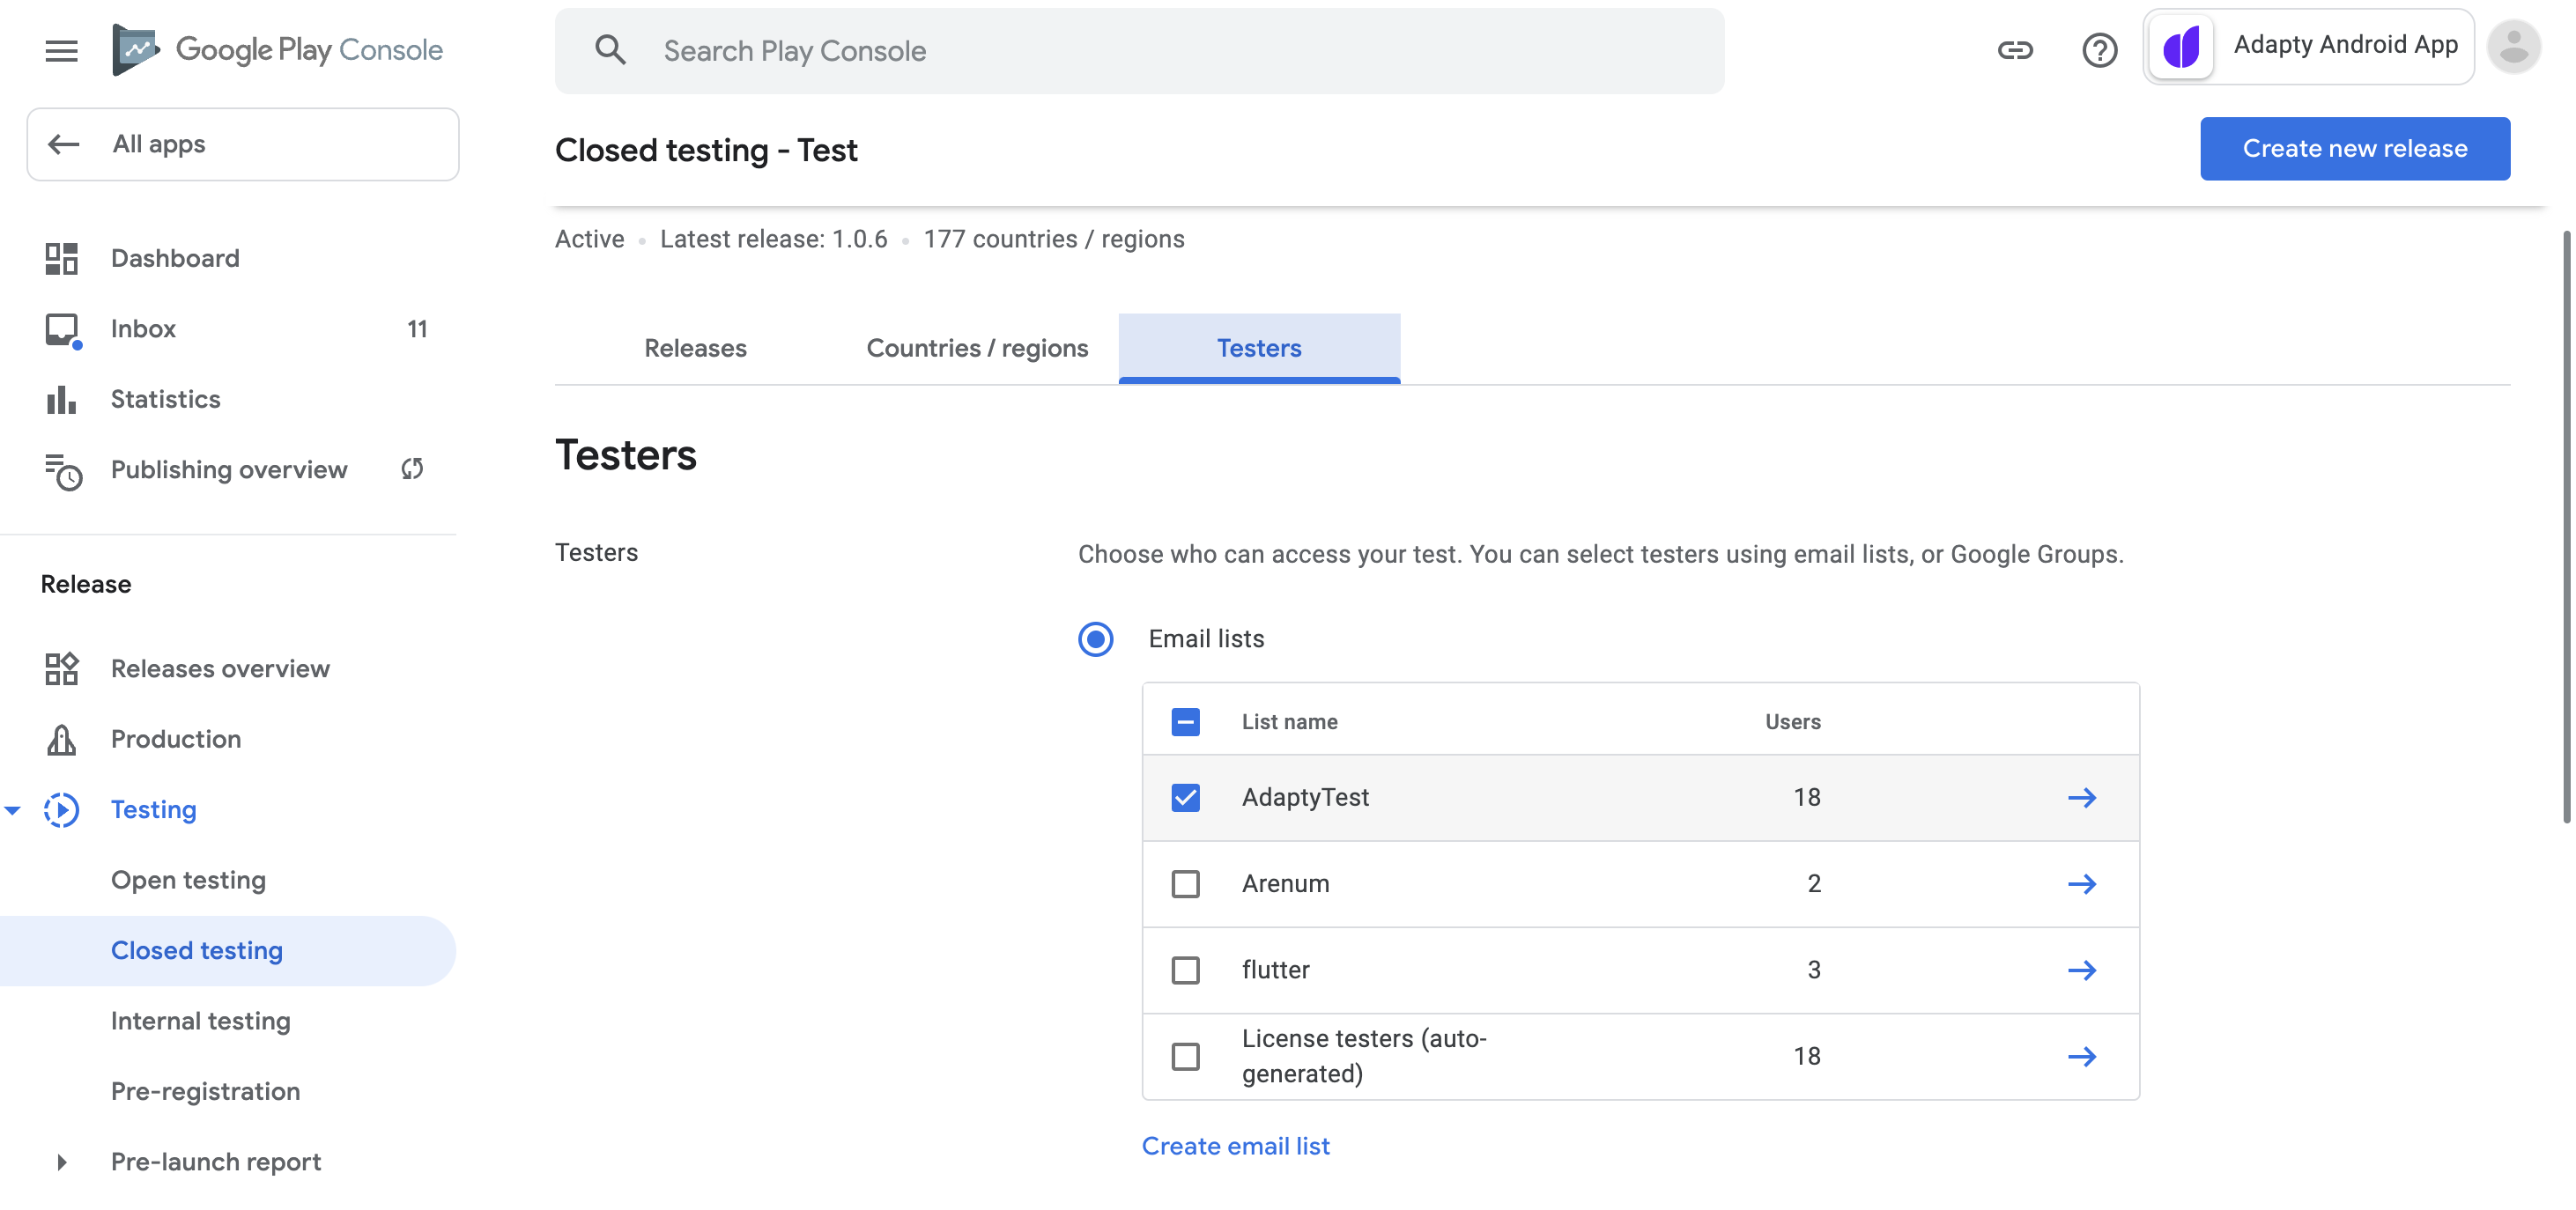
-
Press Enter, and click the Save changes button.
-
Open the Opt-in URL in your testing device to make the user a tester. You can send the URL to your device via email, for example.
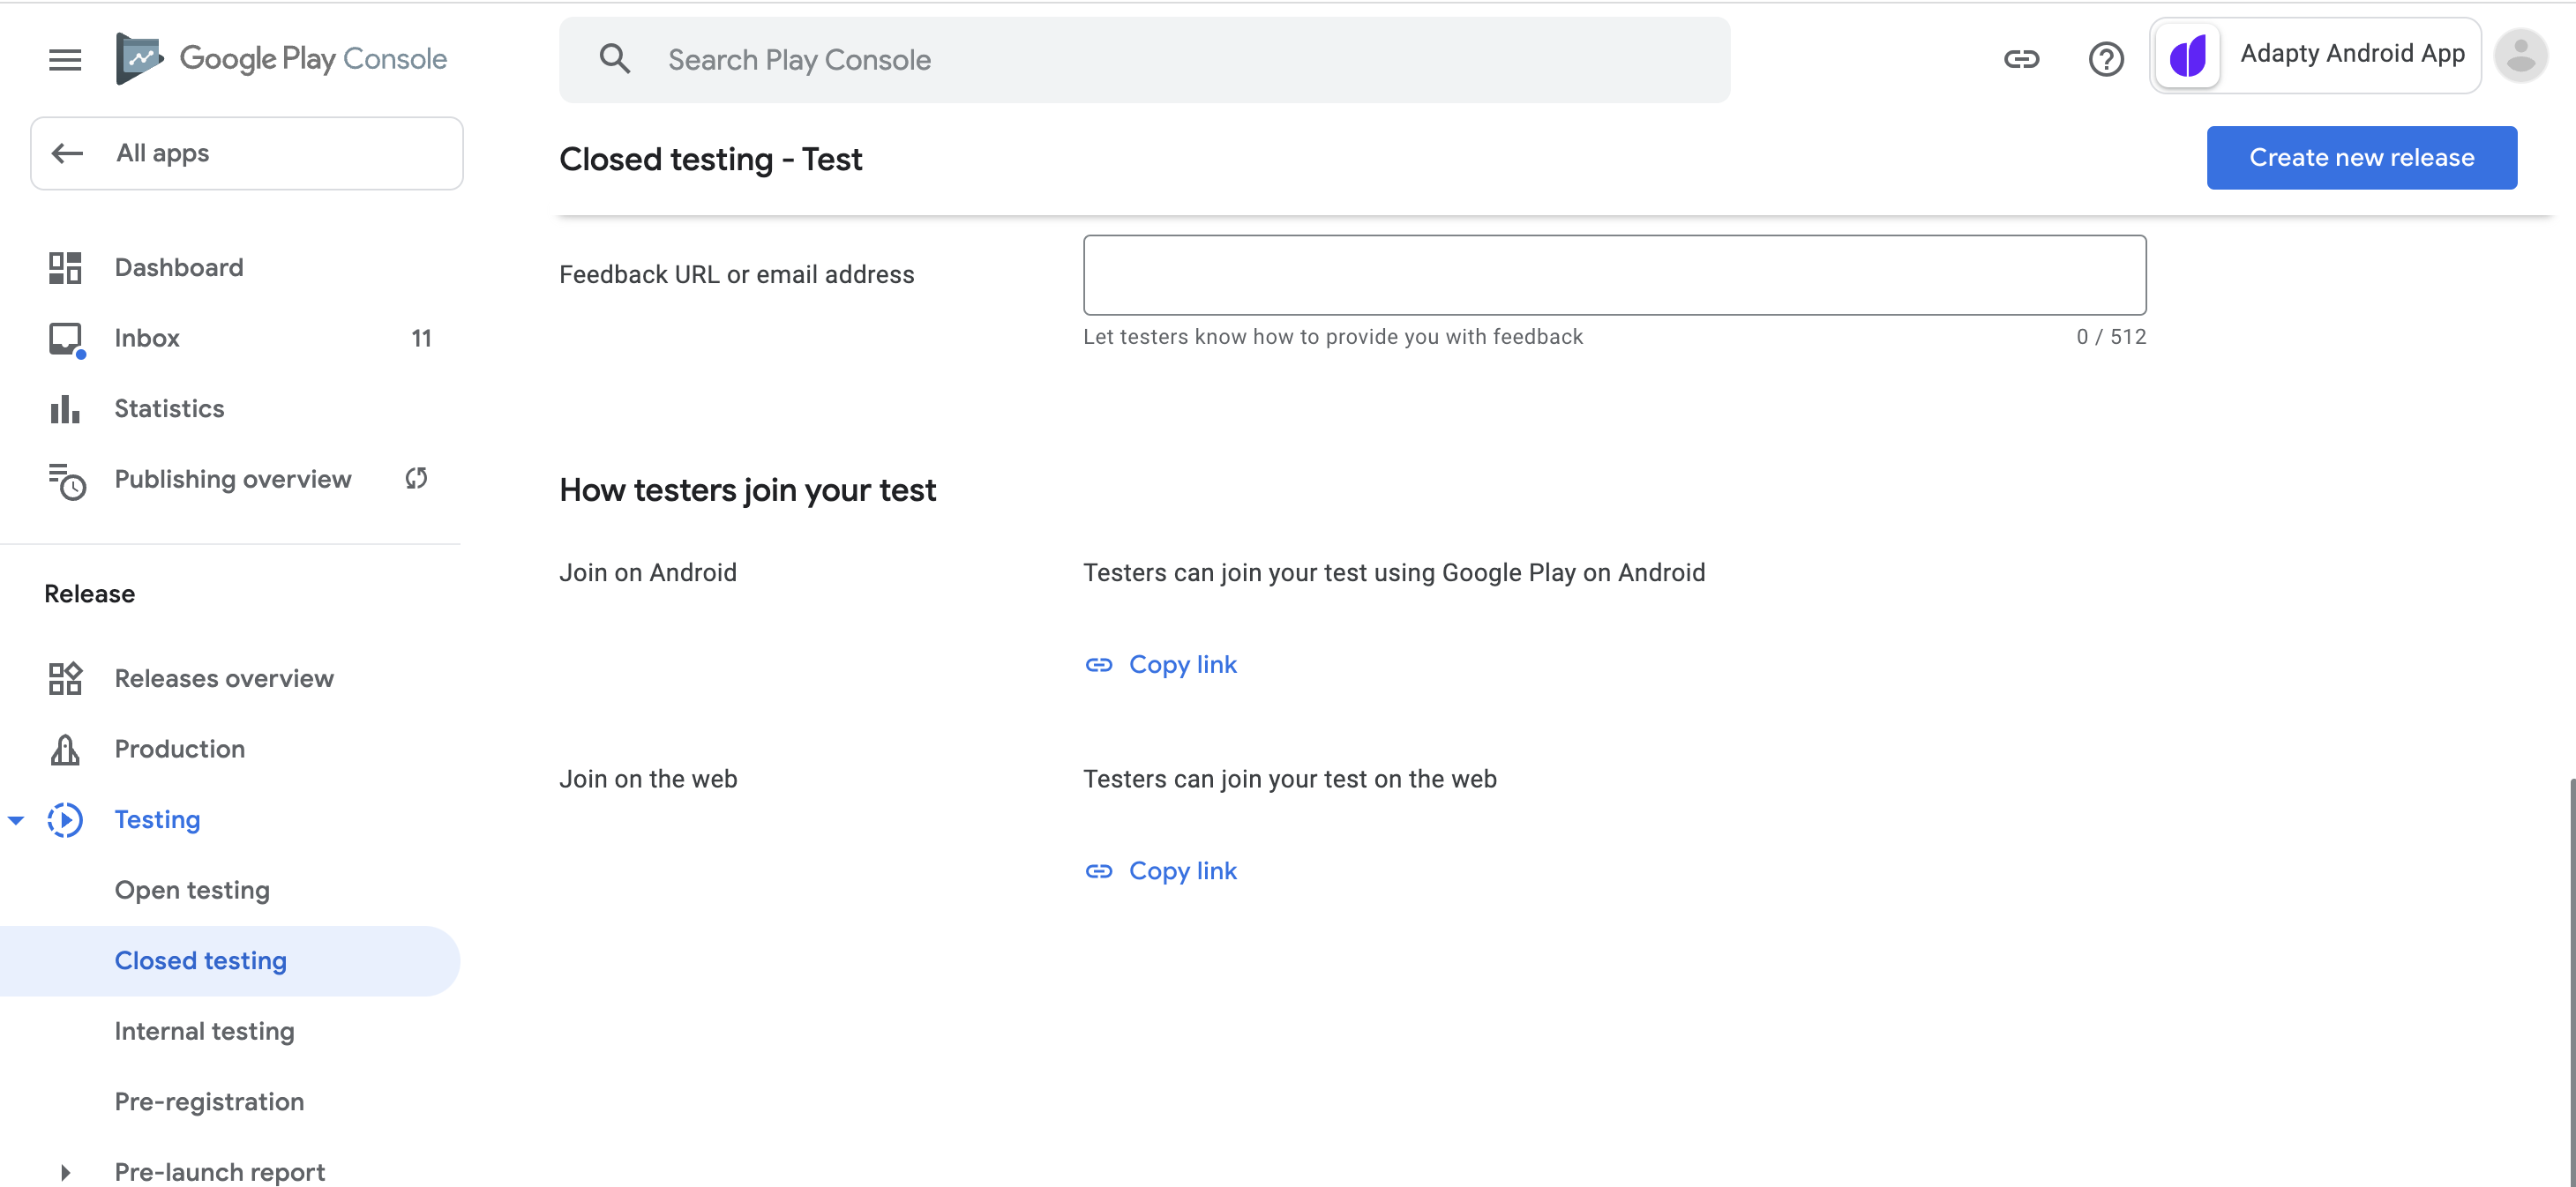
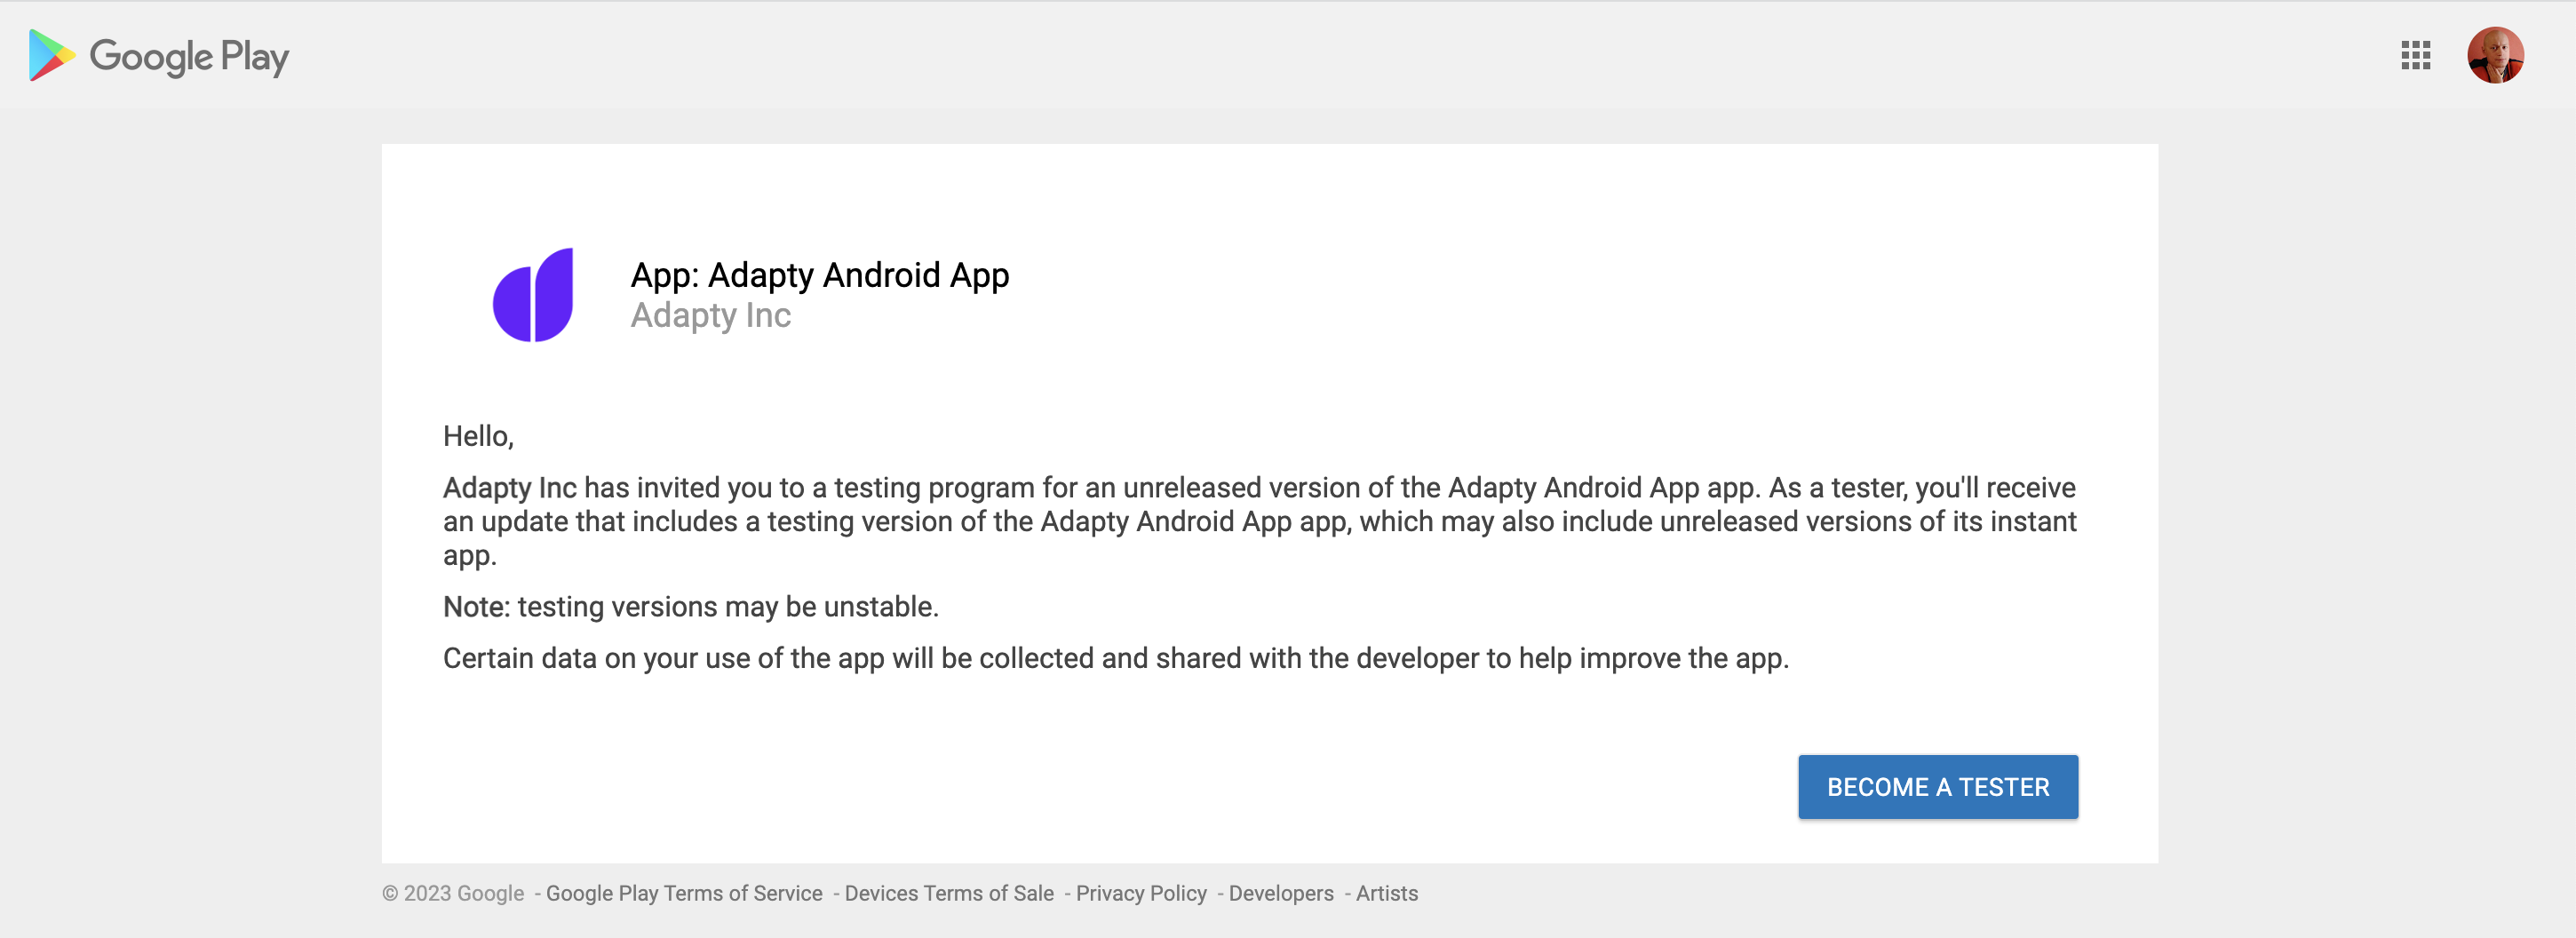
Important
Opening the opt-in URL marks your Play account for testing. If you don't complete this step, products will not load.
Check Your Application ID
Often developers will use a different application ID for their test builds. This will cause you problems since Google Play Services uses the application ID to find your in-app purchases.
Add a PIN to the test device if needed
There are cases where a test user may be allowed to purchase consumables, but not subscriptions, if the test device does not have a PIN. This may manifest in a cryptic "Something went wrong" message. Make sure that the test device has a PIN, and that the device is logged into Google Play Store.
Upload a signed APK to the closed track
Generate a signed APK or use Android App Bundle to upload a signed APK to the closed track you just created. You don't even need to roll out the release. Just upload the APK. You can find more information about this in this support article.
Make your release available in at least one country
If your app is new, you may need to make it available in your country or region. To do so, go to Testing > Closed testing, click on your test track, and go to Countries/regions to add the desired countries and regions.
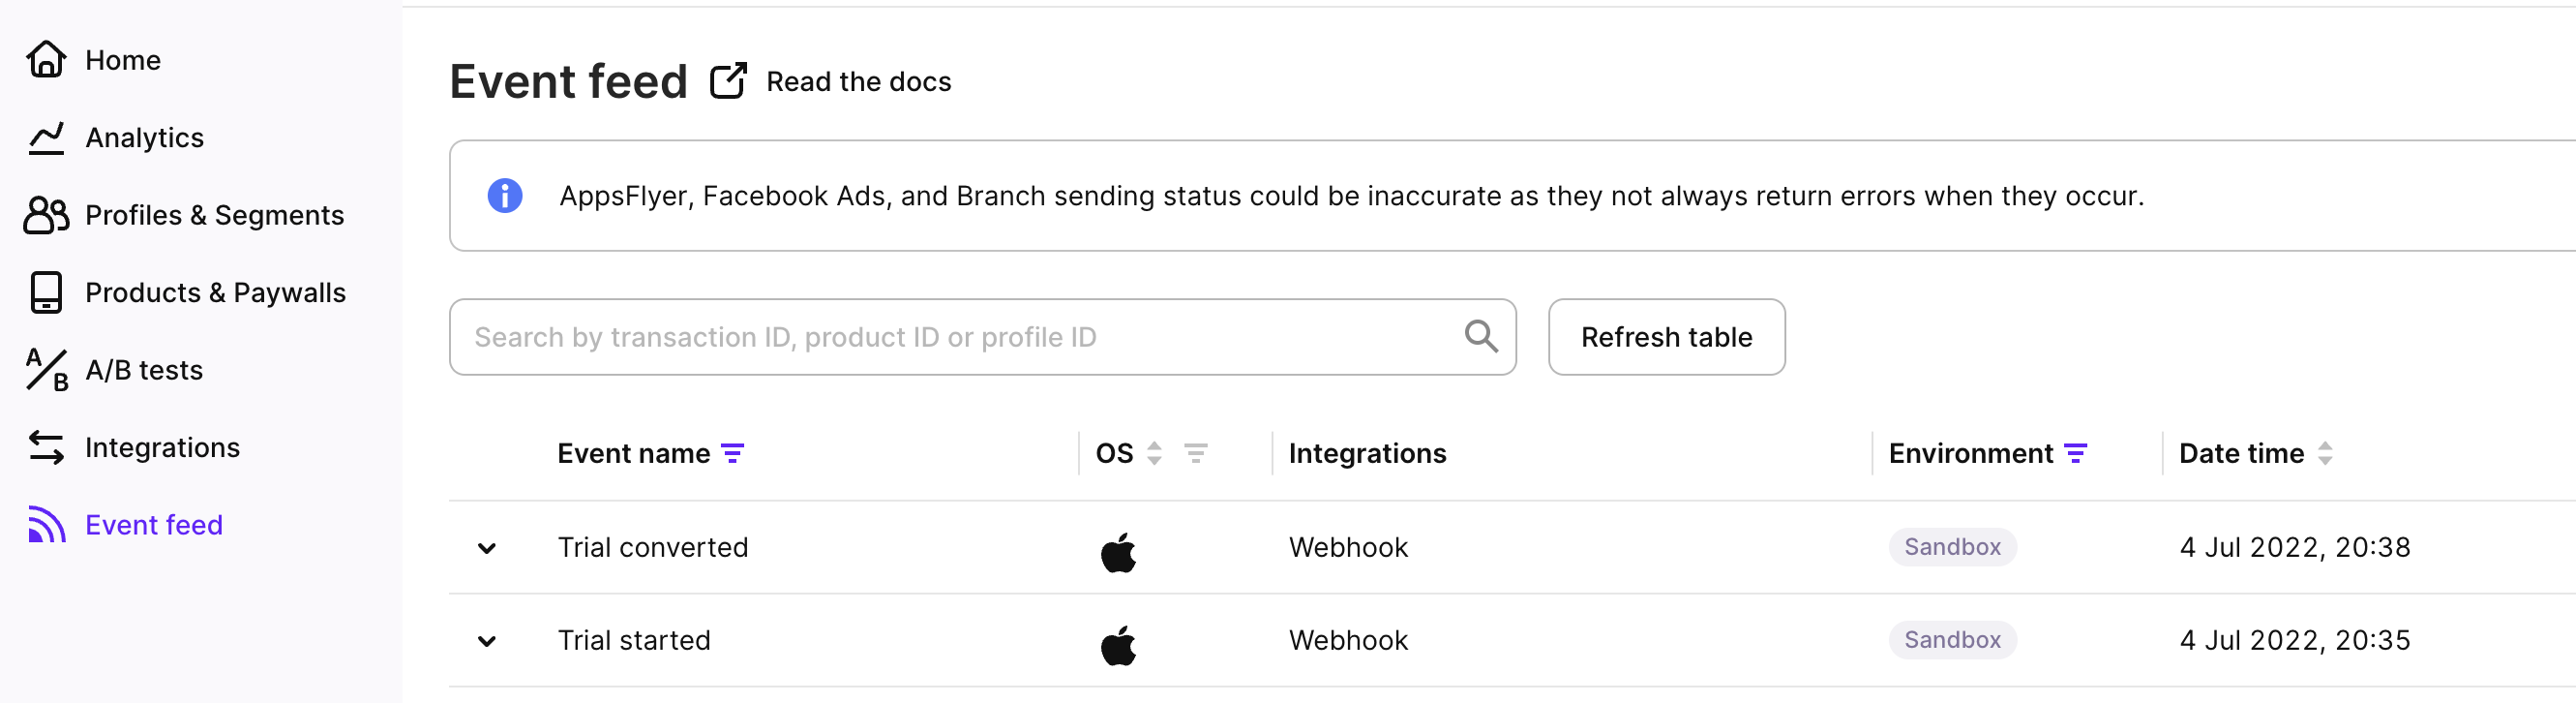
Test in-app purchases
After you've uploaded the APK, wait a few minutes for the release to process. Then, open your testing device and sign in with the email account you added to the Testers list. You can then test in-app purchases as you would on a production app.
If you run into any issues, refer to the documentation or contact Google Play Developer support.
Updated 26 days ago