
Add paywall locale in Adapty Paywall Builder
Customize your paywall for diverse markets by adding locales within Adapty Paywall Builder
Localizing is a tedious process that requires time and precision. When using Paywall Builder, Adapty does almost all of the work for you, as most of the things you'll need work out of the box. This page describes how it works.
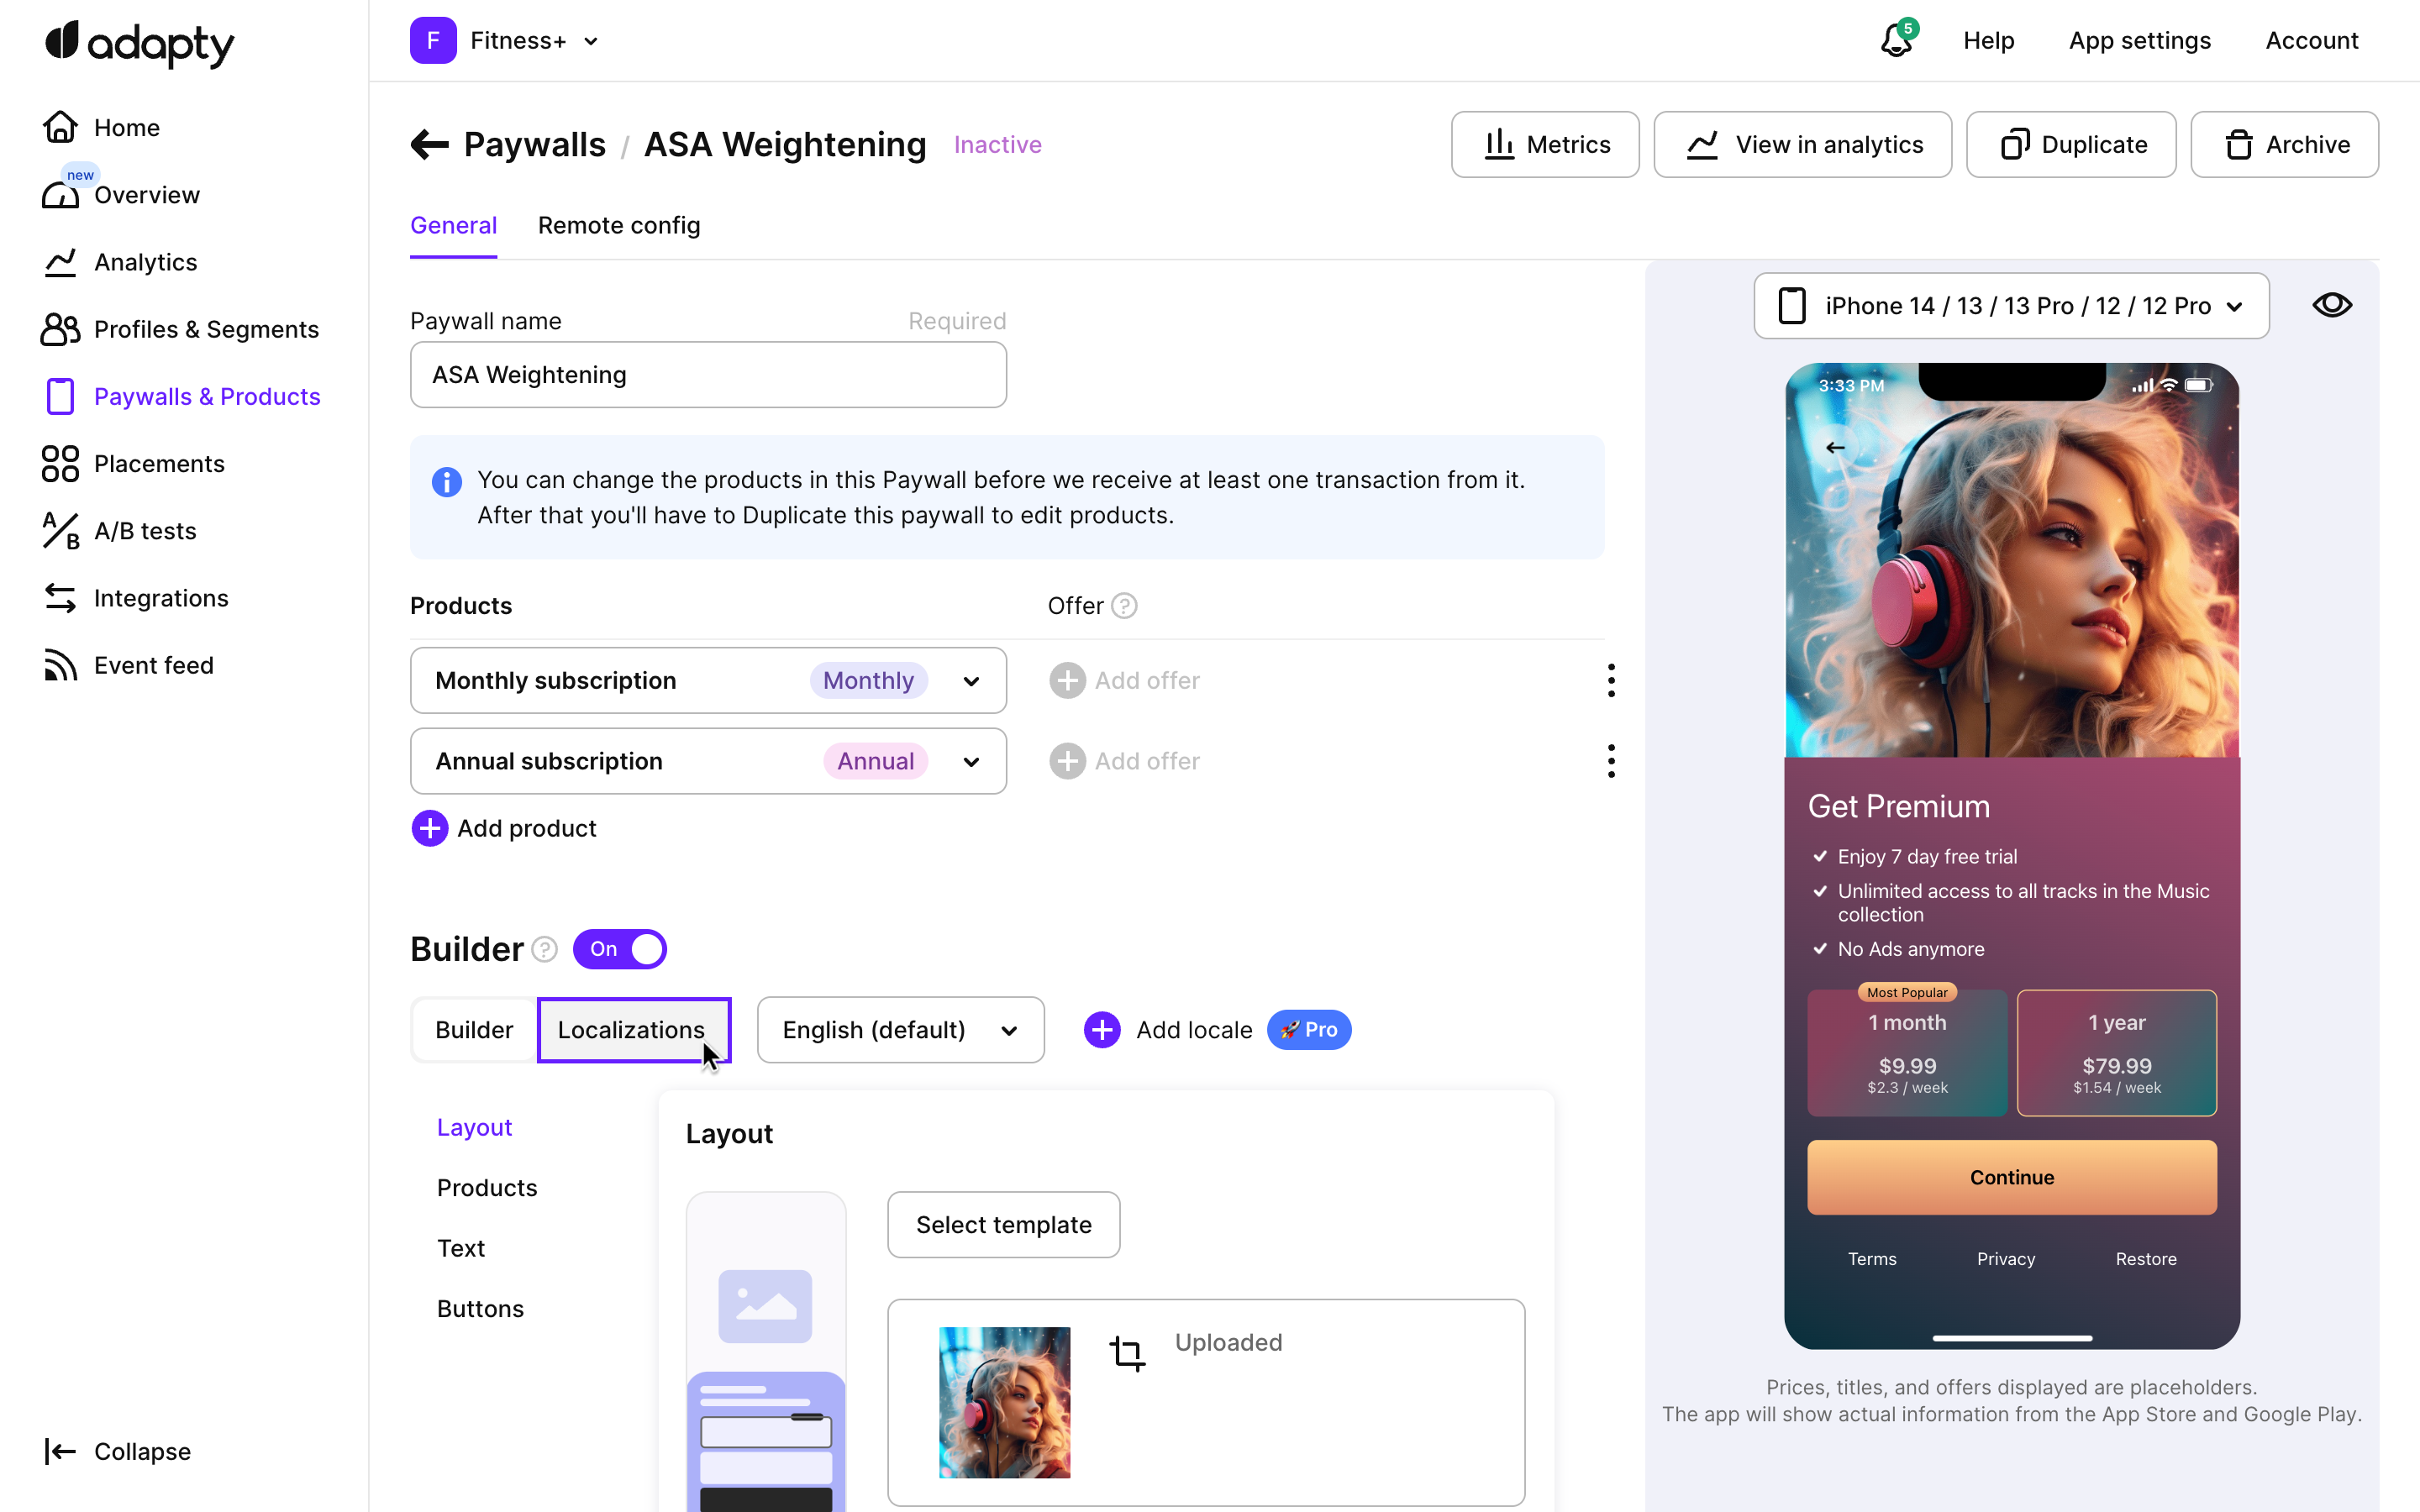
Suppose you've finished configuring your paywall in the default en localization and you like the result. Now it's time to add another language.
Add and set up localization
-
Switch over to the Localizations tab below the Builder title.
-
Click the Add locale button, and select all languages you want to have in your app.

Once added, the new locale will be pre-filled with values from the default.
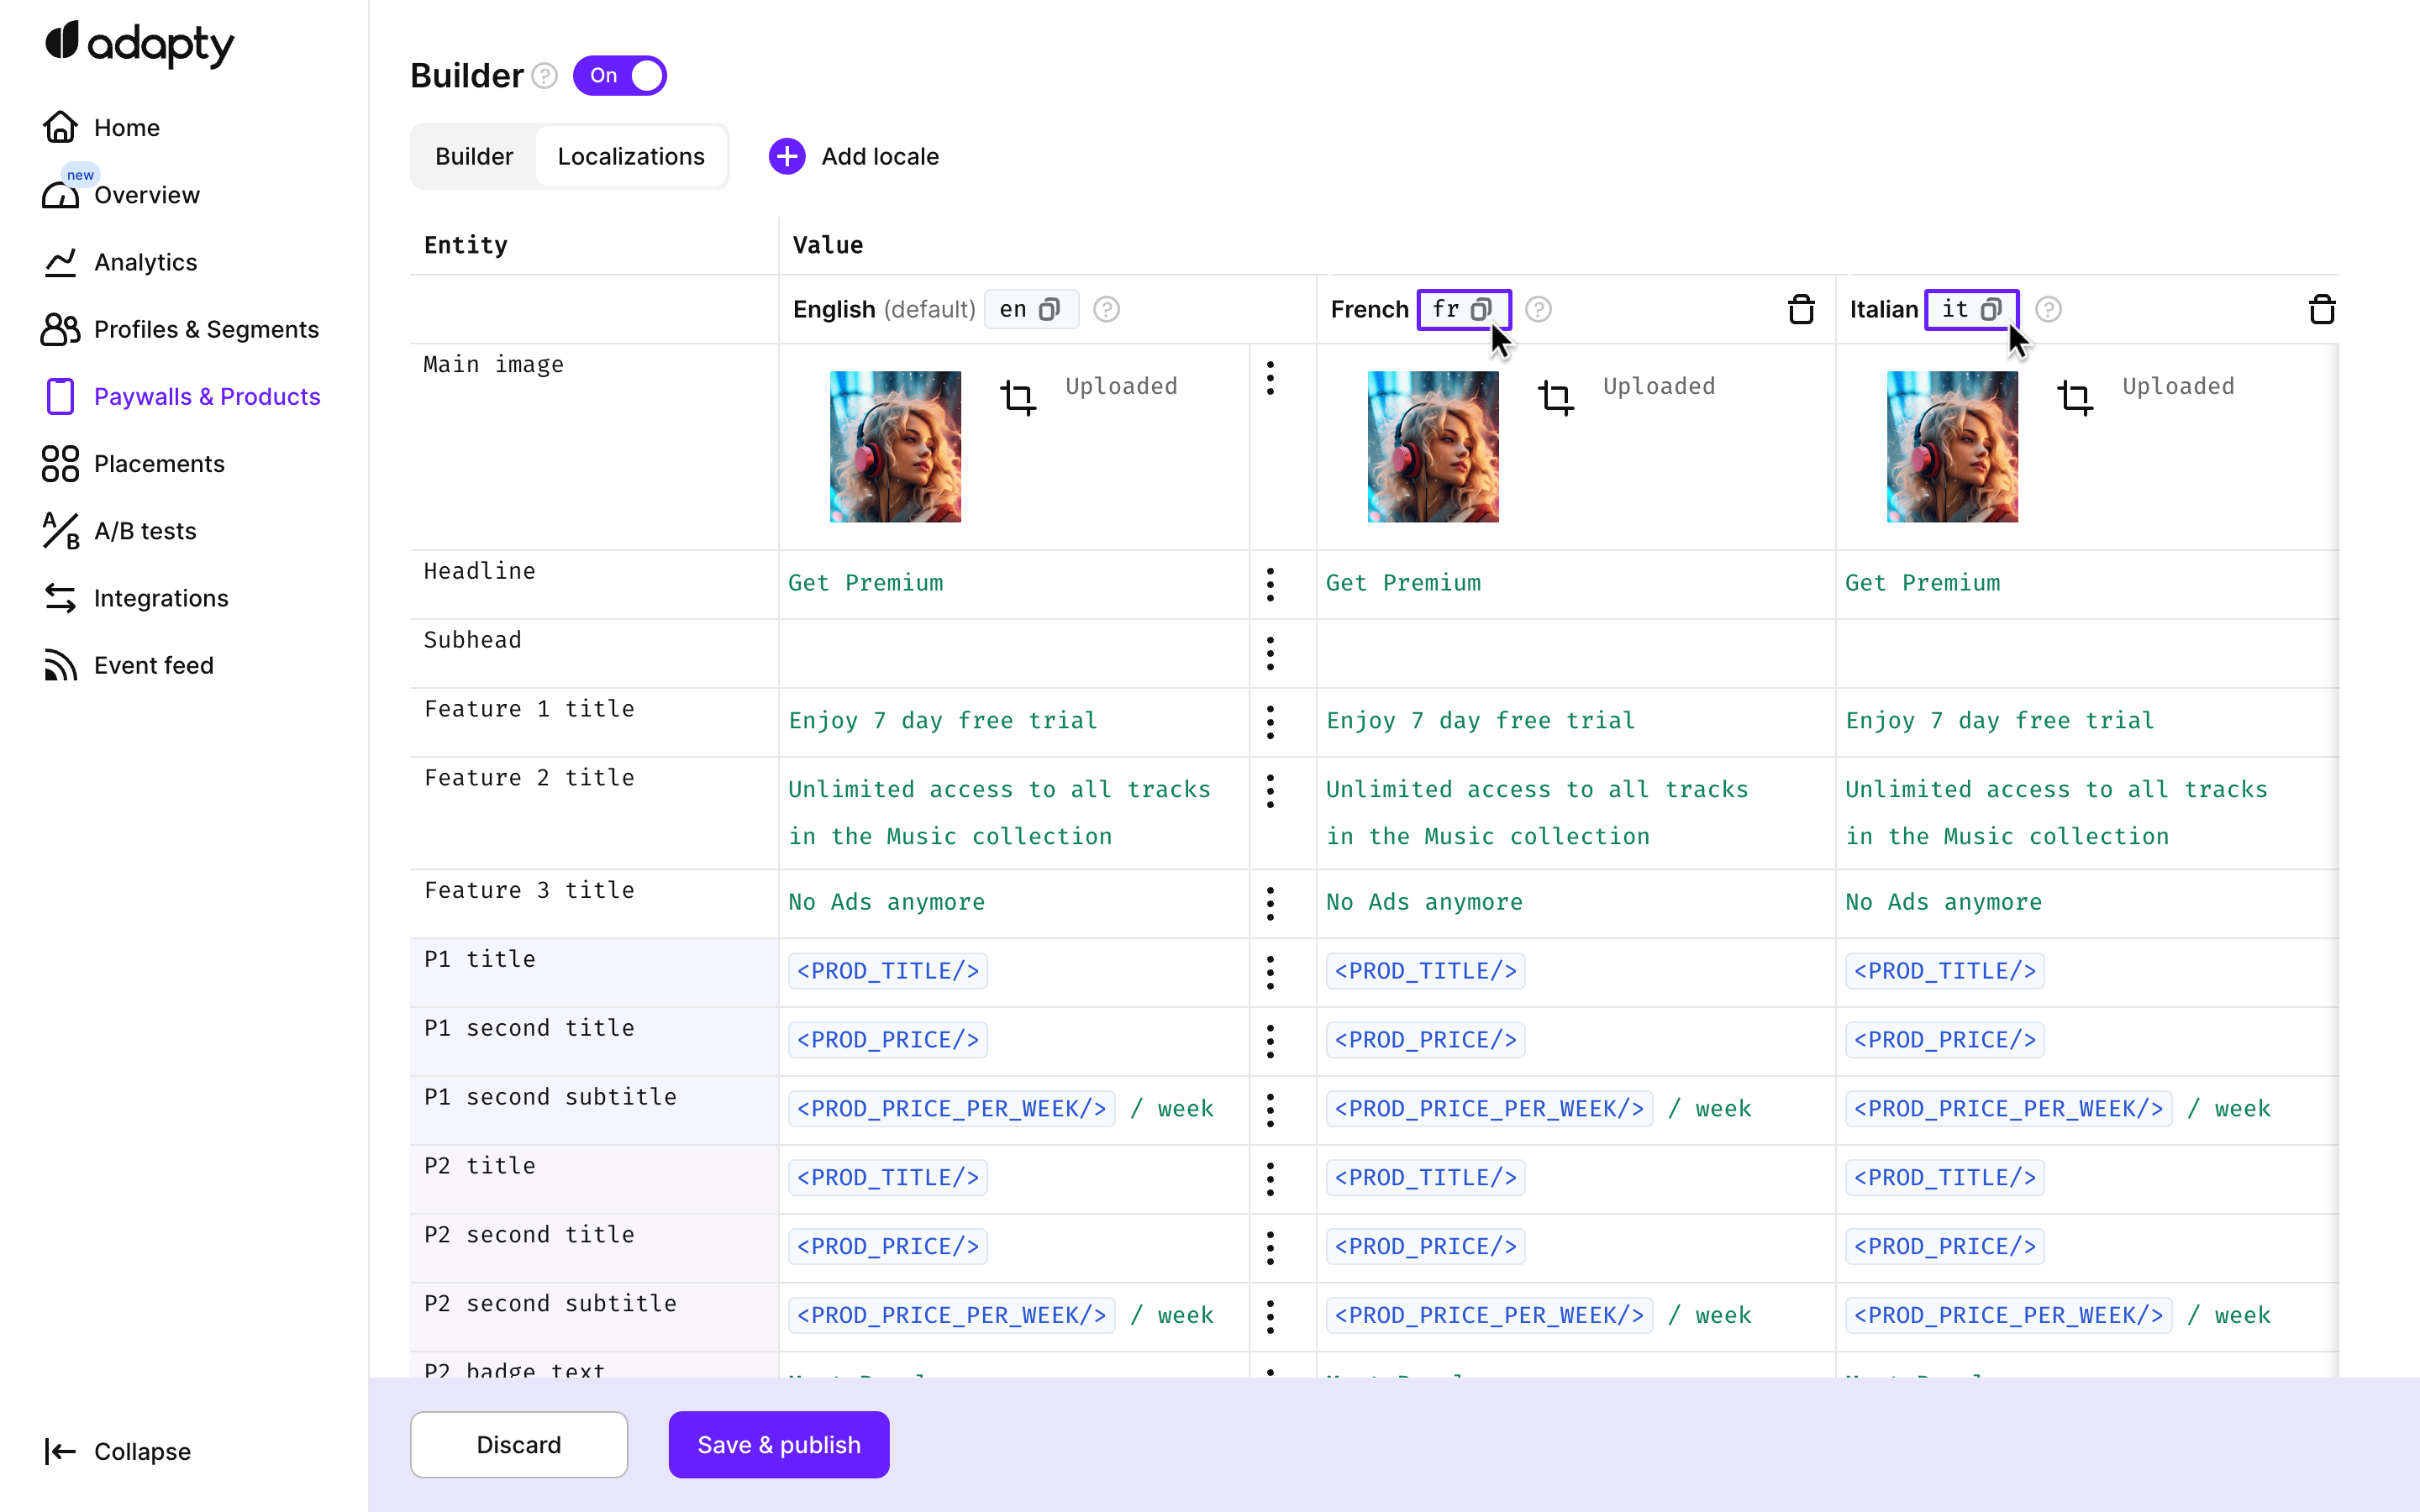
Pay attention to the locale code (
en,franditon the screenshot above). You'll need to pass it to thegetViewConfigurationmethod of our SDK to get the correct localization.You can learn more about it here.
-
Now you can fill in the translated values for the new locale. There are a few controls in this table that can make it easier (especially if you have many locales).
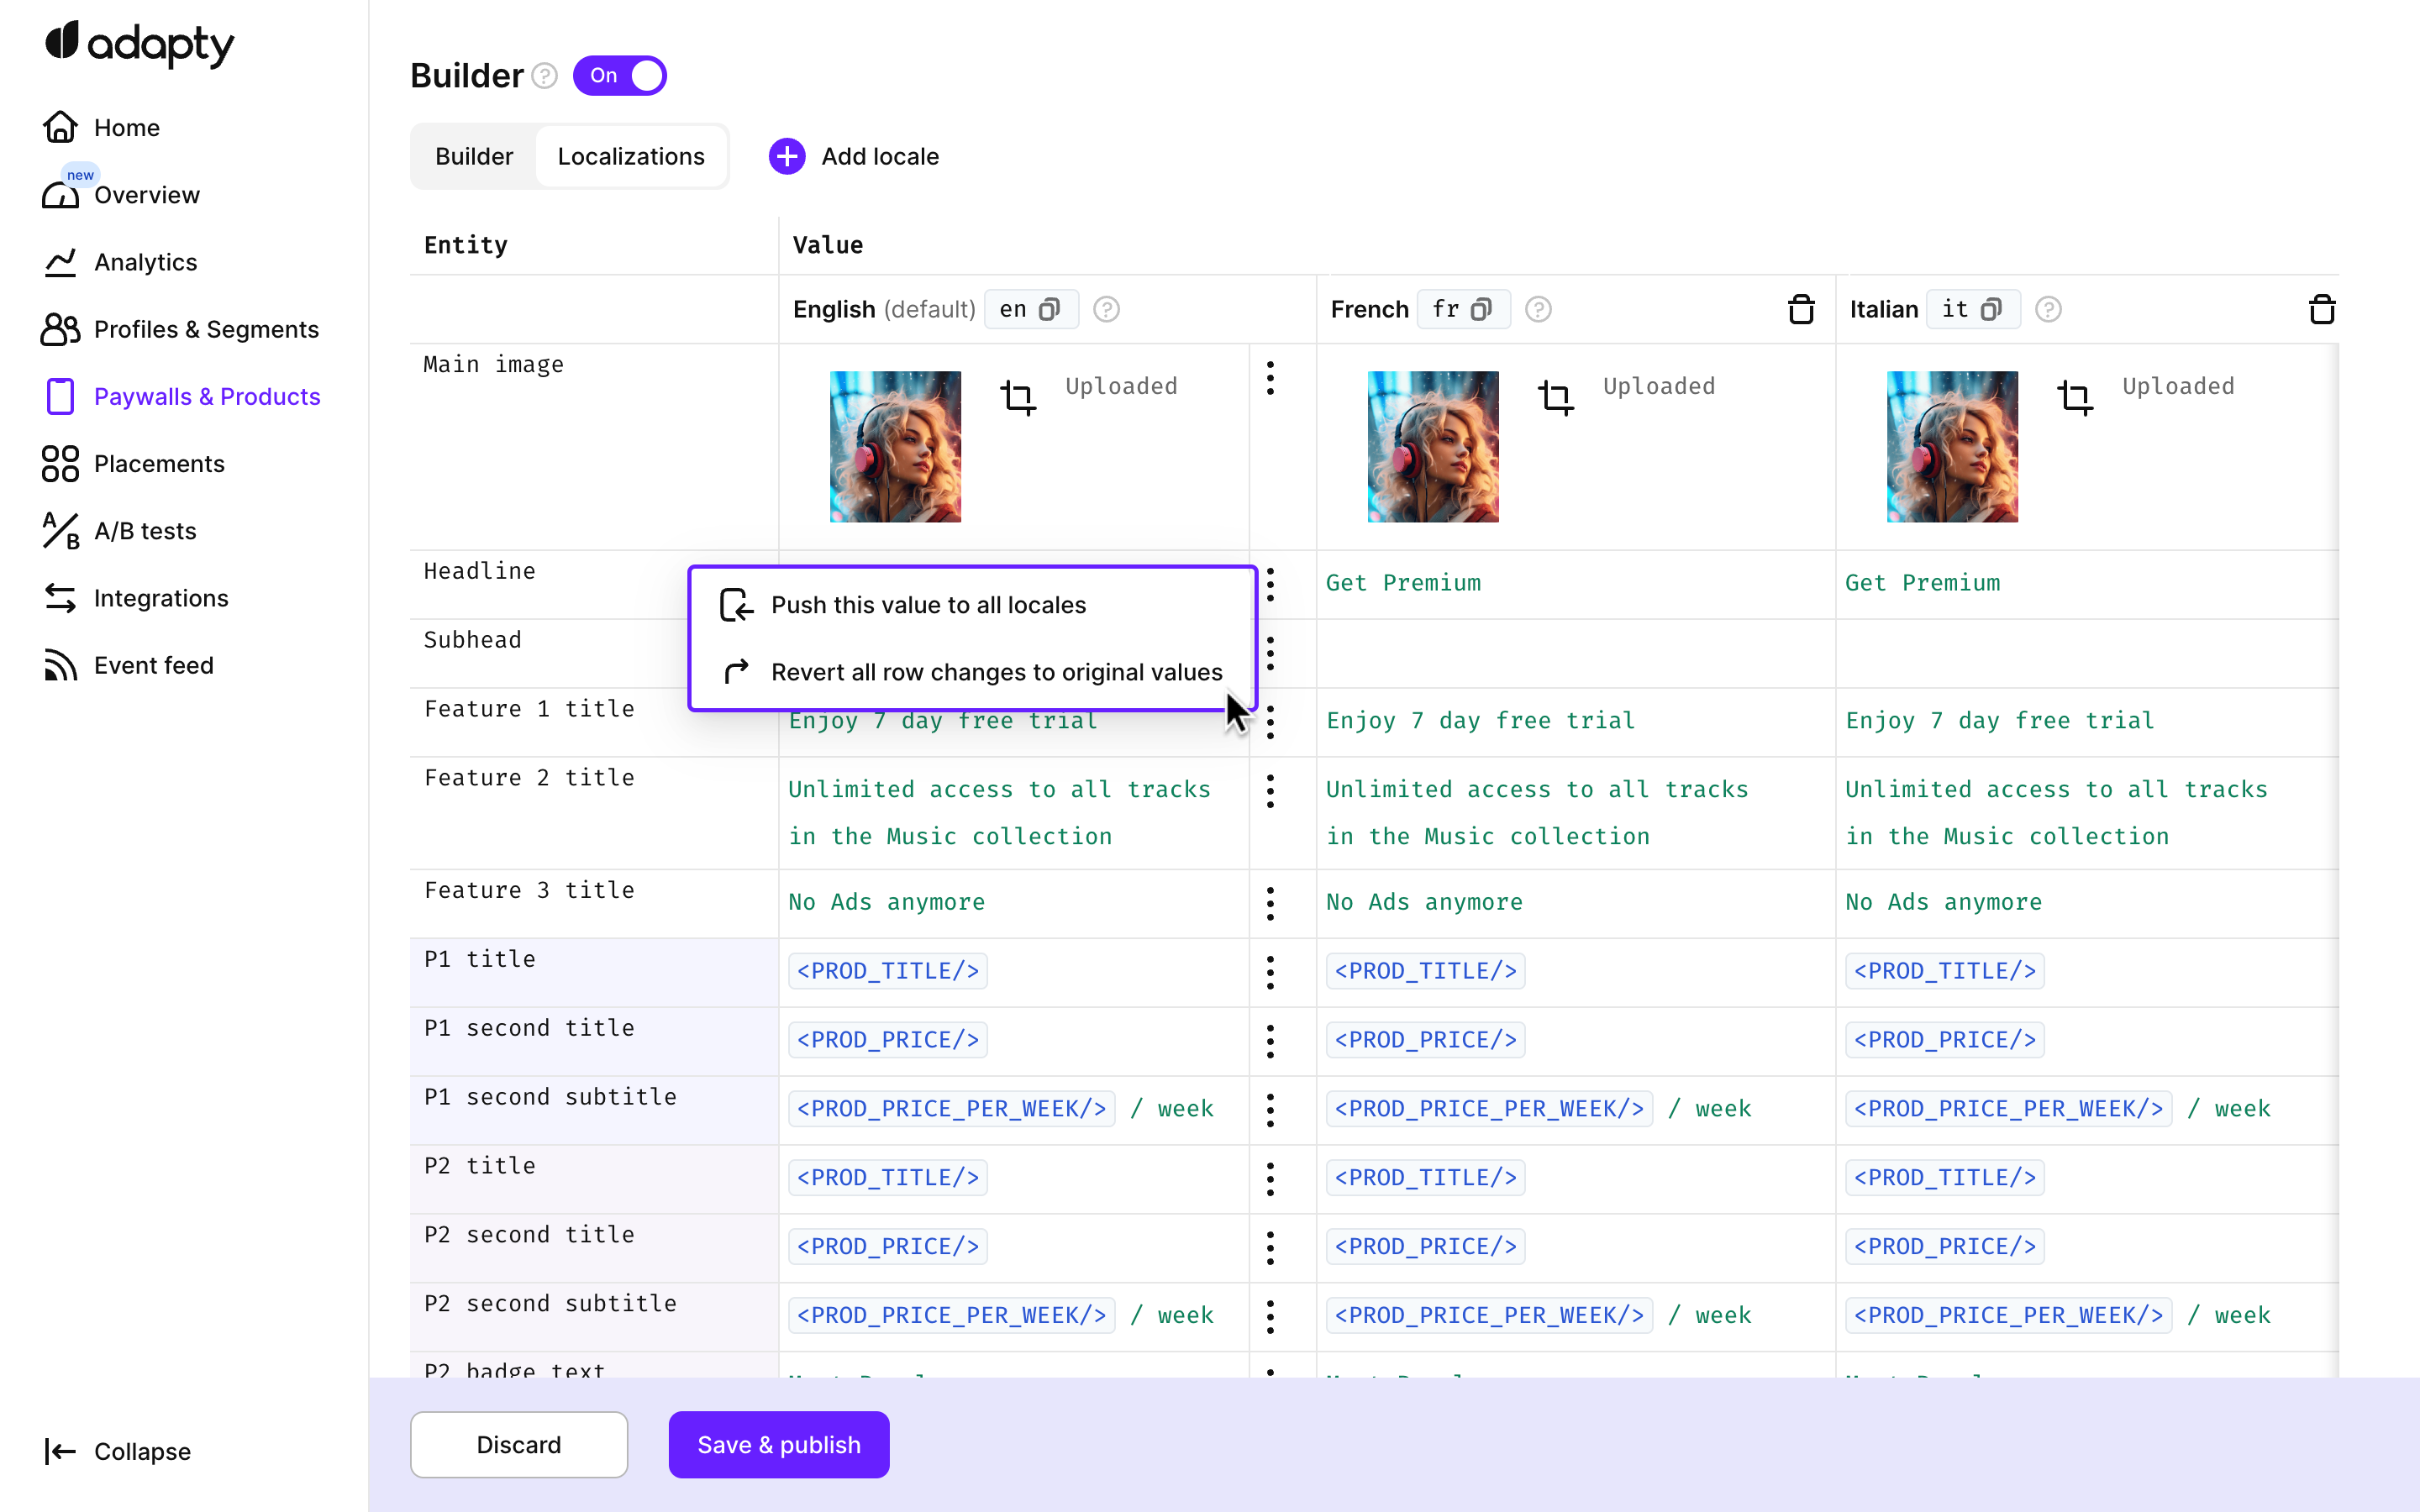
Feel free to use the context menu of the English locale to fix localization issues:
- Use the Push this value to all locales menu to overwrite any changes made in the row for non-English locales, replacing them with the values from the English locale.
- Use the Revert all row changes to original values menu to cancel all changes made in the current session, reverting them to the last saved values.
Using tag variables
We strongly recommend using tag variables (such as
<PROD_TITLE/>) to speed up your localization process and ensure that the text is always correct. Learn more about them here.
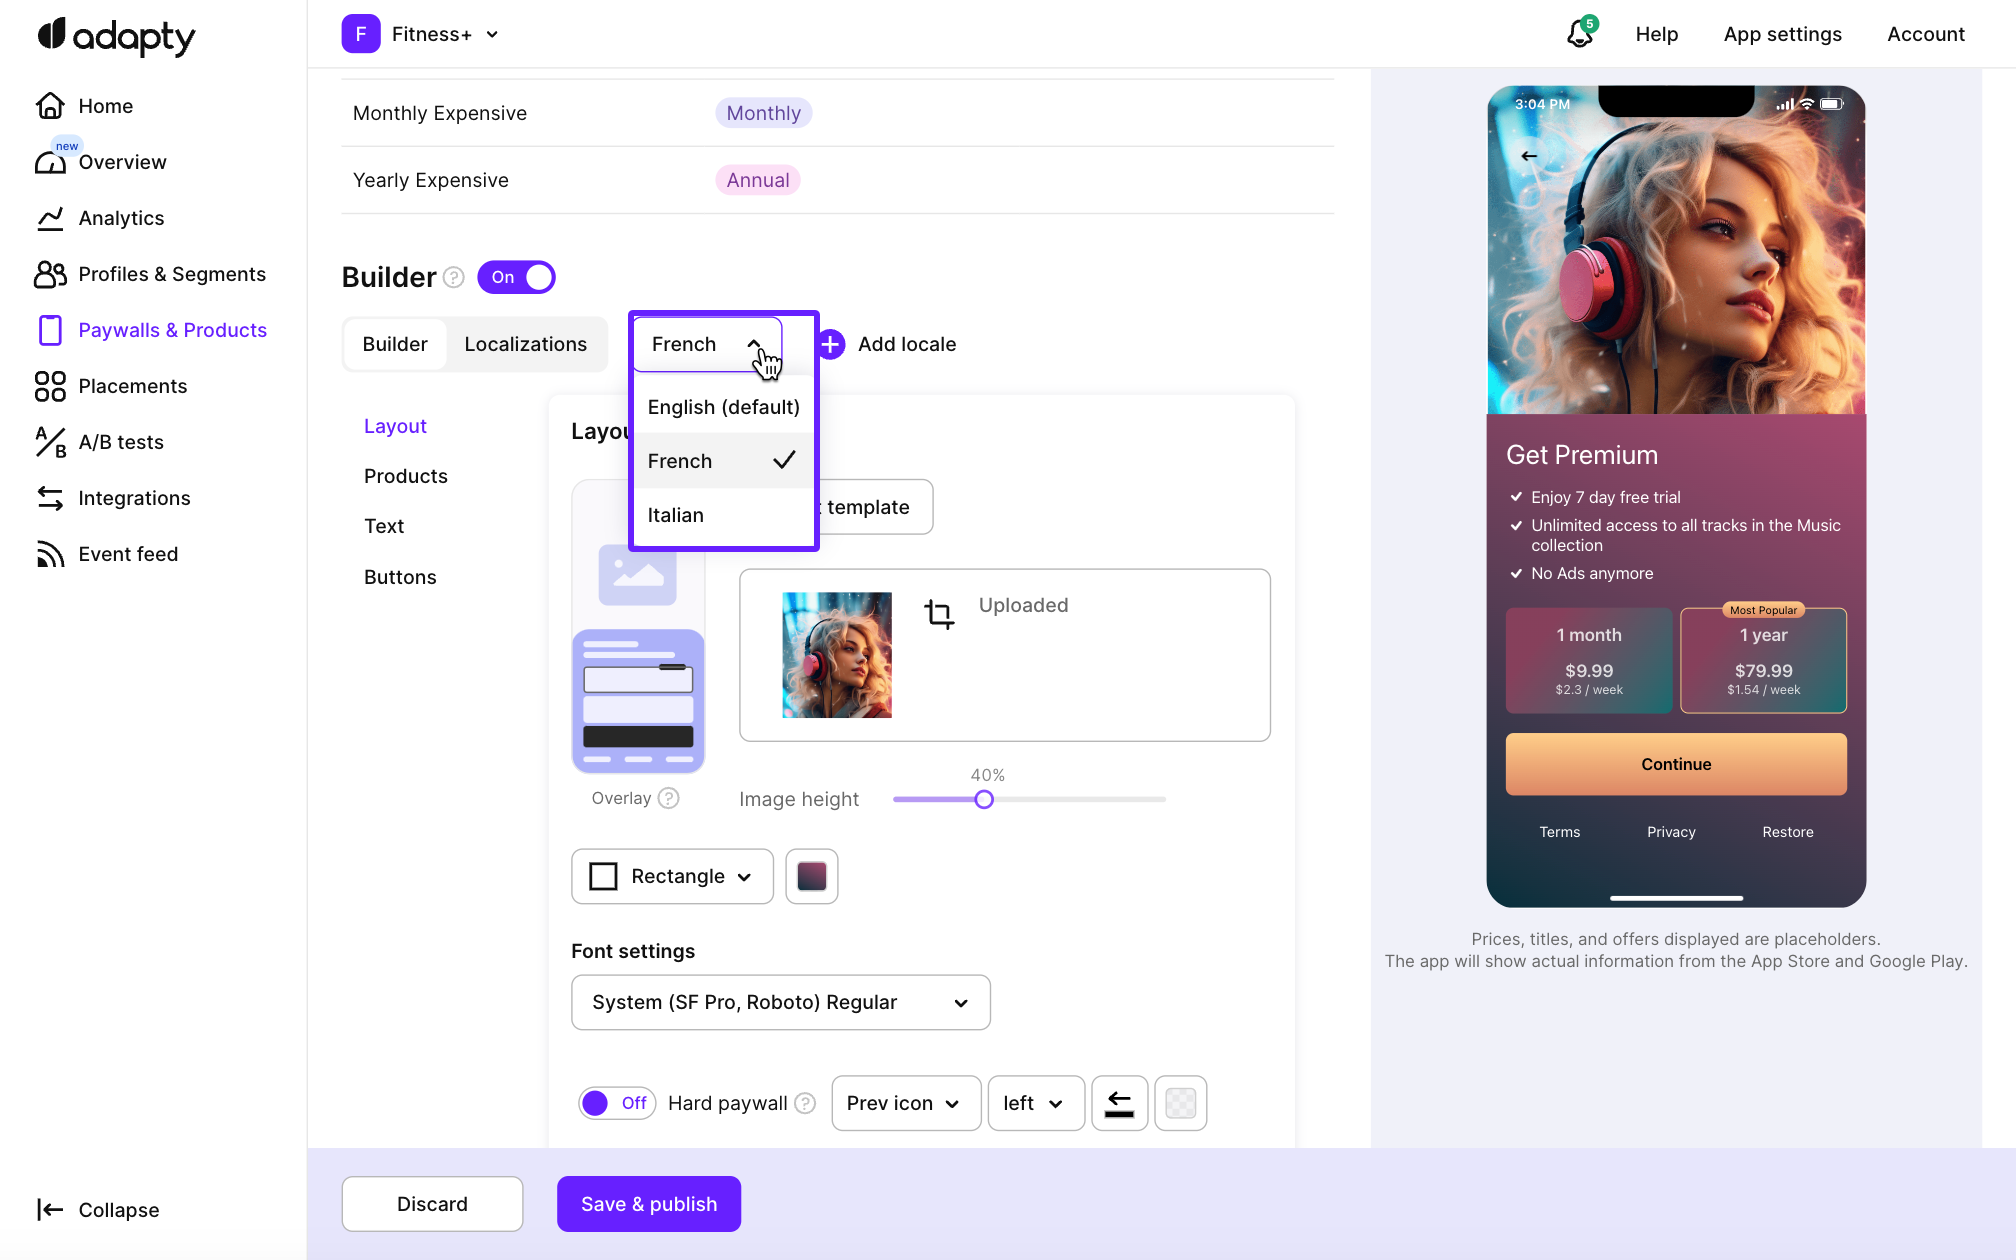
Preview the localization result
You can check your texts while editing by simply switching over back to the Builder tab and selecting another locale:
Once you add locales to a paywall, learn to correctly work with locale codes in your app's code.
Updated 3 months ago