
Create service account in the Google Cloud Console
Creating a service account in the Google Cloud Console, essential for seamless integration with the Google Play Console
For Adapty to automate data access, a service account is necessary in the Google Play Console.
- Open Service accounts section of the Google Play Console. Make sure you use the correct project.

The entry point for creating a service account
- Click the Create service account button.
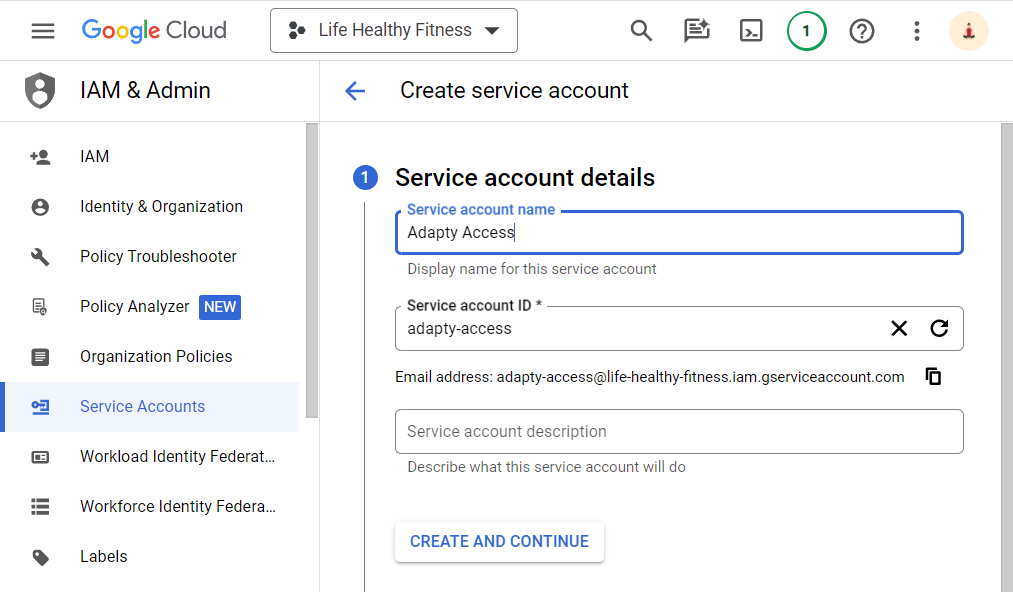
Creating the service account
-
In Service account details sub-section of the Create service account window, enter the Service Account Name you want. We recommend including "Adapty" in the name to indicate the purpose of this account. The Service account ID will be created automatically.
-
Copy the service account email address and save it for future usage.
-
Click the Create and continue button.
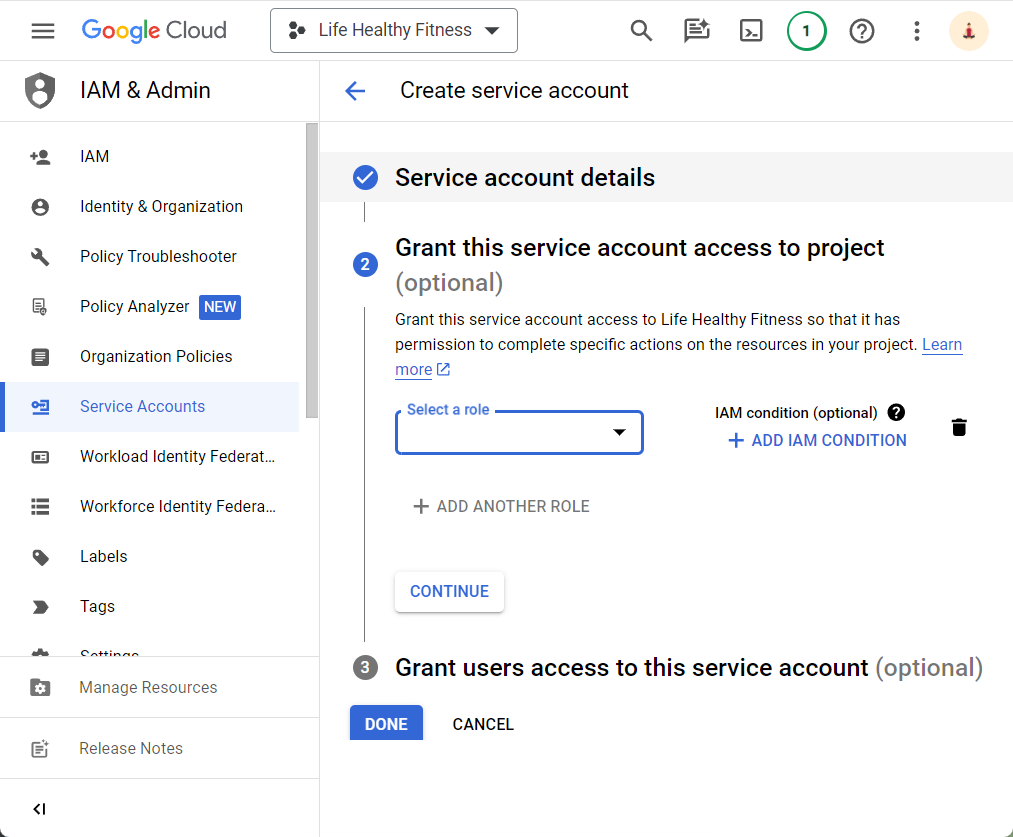
Adding roles to the service account
-
In the Select a role drop-down list of the Grant this service account access to project sub-section, select Pub/Sub -> Pub/Sub Admin. This role is required to enable real-time developer notifications.
-
Click the Add another role button.
-
In a new Role drop-down list, select Monitoring -> Monitoring Viewer. This role is required to allow monitoring of the notification queue.
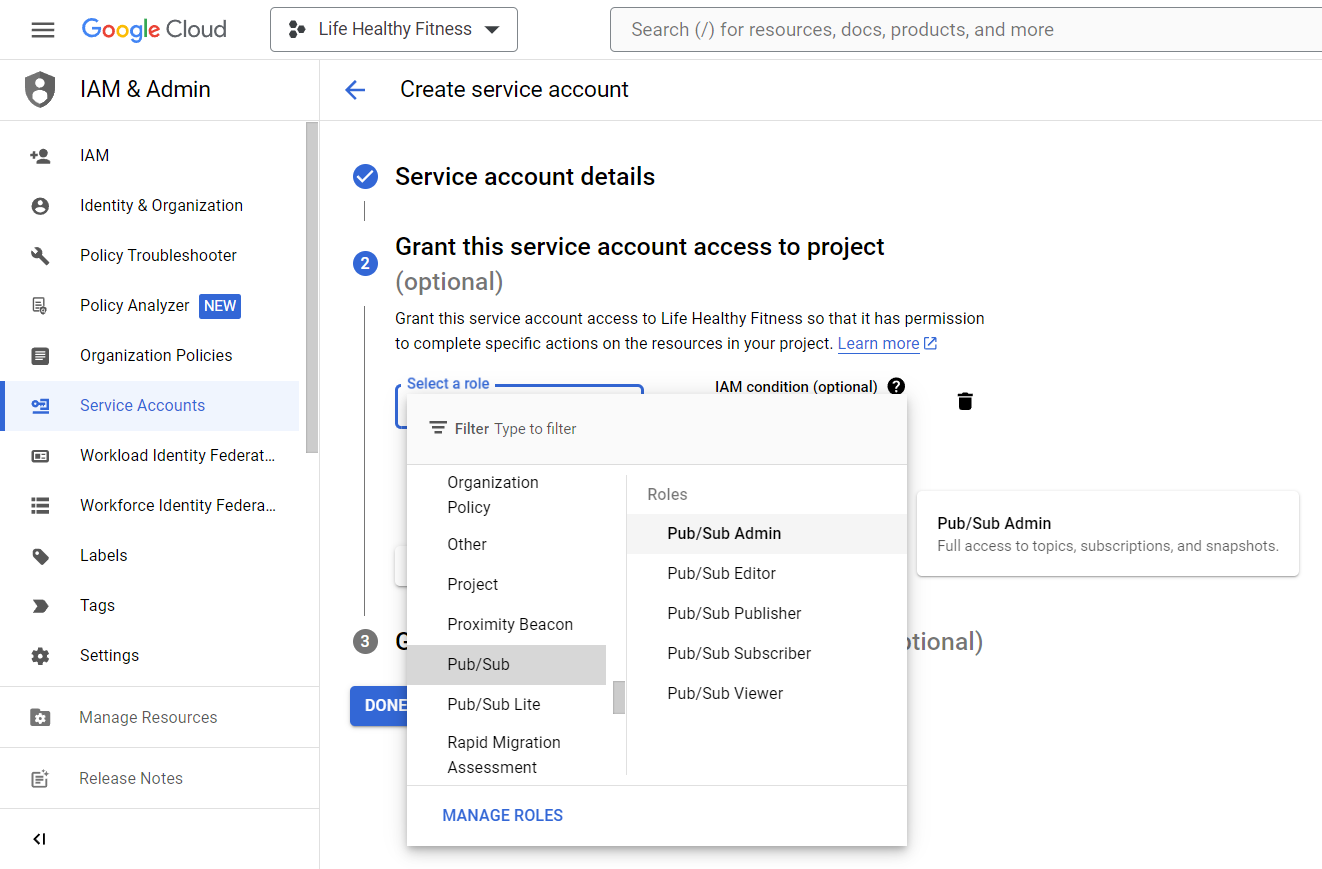
Choosing a role for the service account
-
Click the Continue button.
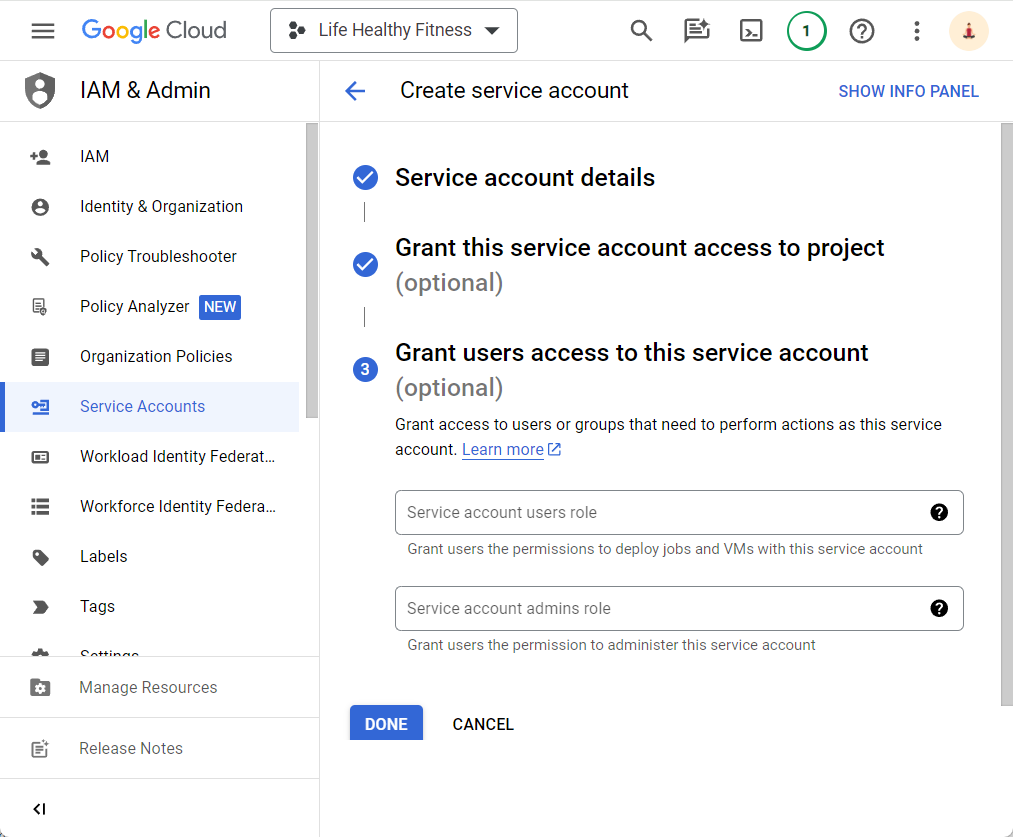
Granting user access to the service account
-
Click the Done button without any changes. The Service accounts window opens.
Updated 10 days ago