
Getting started success checklist
For: Product Managers, Developers
Adapty integrates with your mobile app on three levels: in the Adapty Dashboard, in the app stores, and in your mobile app code.
It's important to note that the initial installation and configuration process varies between the Apple App Store and Google Play Store.
While the initial installation and configuration may seem like a preliminary step, we highly recommend pausing after this stage to verify the results against our recommendations. This ensures any potential errors are easily identified before proceeding to the next stage.
Success checklist for the Apple App Store integration
-
The mobile app's name and category are added in the Adapty Dashboard. Check now. Learn how to add them
-
The bundle ID, in-app purchase issuer ID, in-app purchase key ID, App Store shared secret, are added in the Adapty Dashboard. Check now. Learn how to add them
-
The In-app purchase key file is uploaded in the Adapty Dashboard. Check now. Learn how to upload
-
The contents of the URL for the App Store server notification field in Adapty is copied and entered into the fields Production Server URL and Sandbox Server URL fields in the App Store Connect. Check now. Learn how to do it
-
The Adapty SDKs are installed for connection on the mobile app code level. Learn how to do it for iOS, for Flutter, for React Native, and for Unity.
-
The Adapty SDKs are configured on the mobile app code level. Learn how to do it for for iOS, for Flutter, for React Native, and for Unity.
-
I set up the logging system to receive errors and other important information sent by Adapty to my mobile app. How to do it for iOS, for Flutter, for React Native, and for Unity.
At this point, we recommend validating that the initial integration be done errorless.
Success checklist for the Google Play Store integration
- I provided my mobile app name and category in the Adapty Dashboard. Check now. Learn how to add them
- I enabled developer APIs in Google Play Console. Check Developer API, Developer Reporting API, Cloud Pub/Sub API. How to enable APIs
- I created a service account in the Google Cloud Console. Check now. How to create it
- I granted permissions to the service account in the Google Play Console. Check now. How to grant permissions
- I provided the package name in the Adapty Dashboard. Check now. to How add them
- I uploaded the service account private key file. Check now. How to upload the file
- I installed AdaptySDK for connection on the mobile app code level.
How to do it for Android, for Flutter, for React Native, and for Unity. - I properly configured AdaptySDK on the mobile app code level. How to do it for iOS, for Flutter, for React Native, and for Unity.
- I set up the logging system to receive errors and other important information sent by Adapty to my mobile app. How to do it for Android, for Flutter, for React Native, and for Unity.
At this point, we recommend checking that the initial integration was done errorless.
Validate your integrations
Once you've completed the steps outlined above, it's time to ensure that the integration was successful. Build and run your application, whether on an emulator for Android or in a simulator or sandbox environment for iOS. Use the following criteria to confirm the success of the integration:
-
The banner asking to install the Adapty SDK is hidden. If you still see it, double-check that you have completed all the steps outlined above. Check now
Banner screenshots for state verification (Click to Expand)
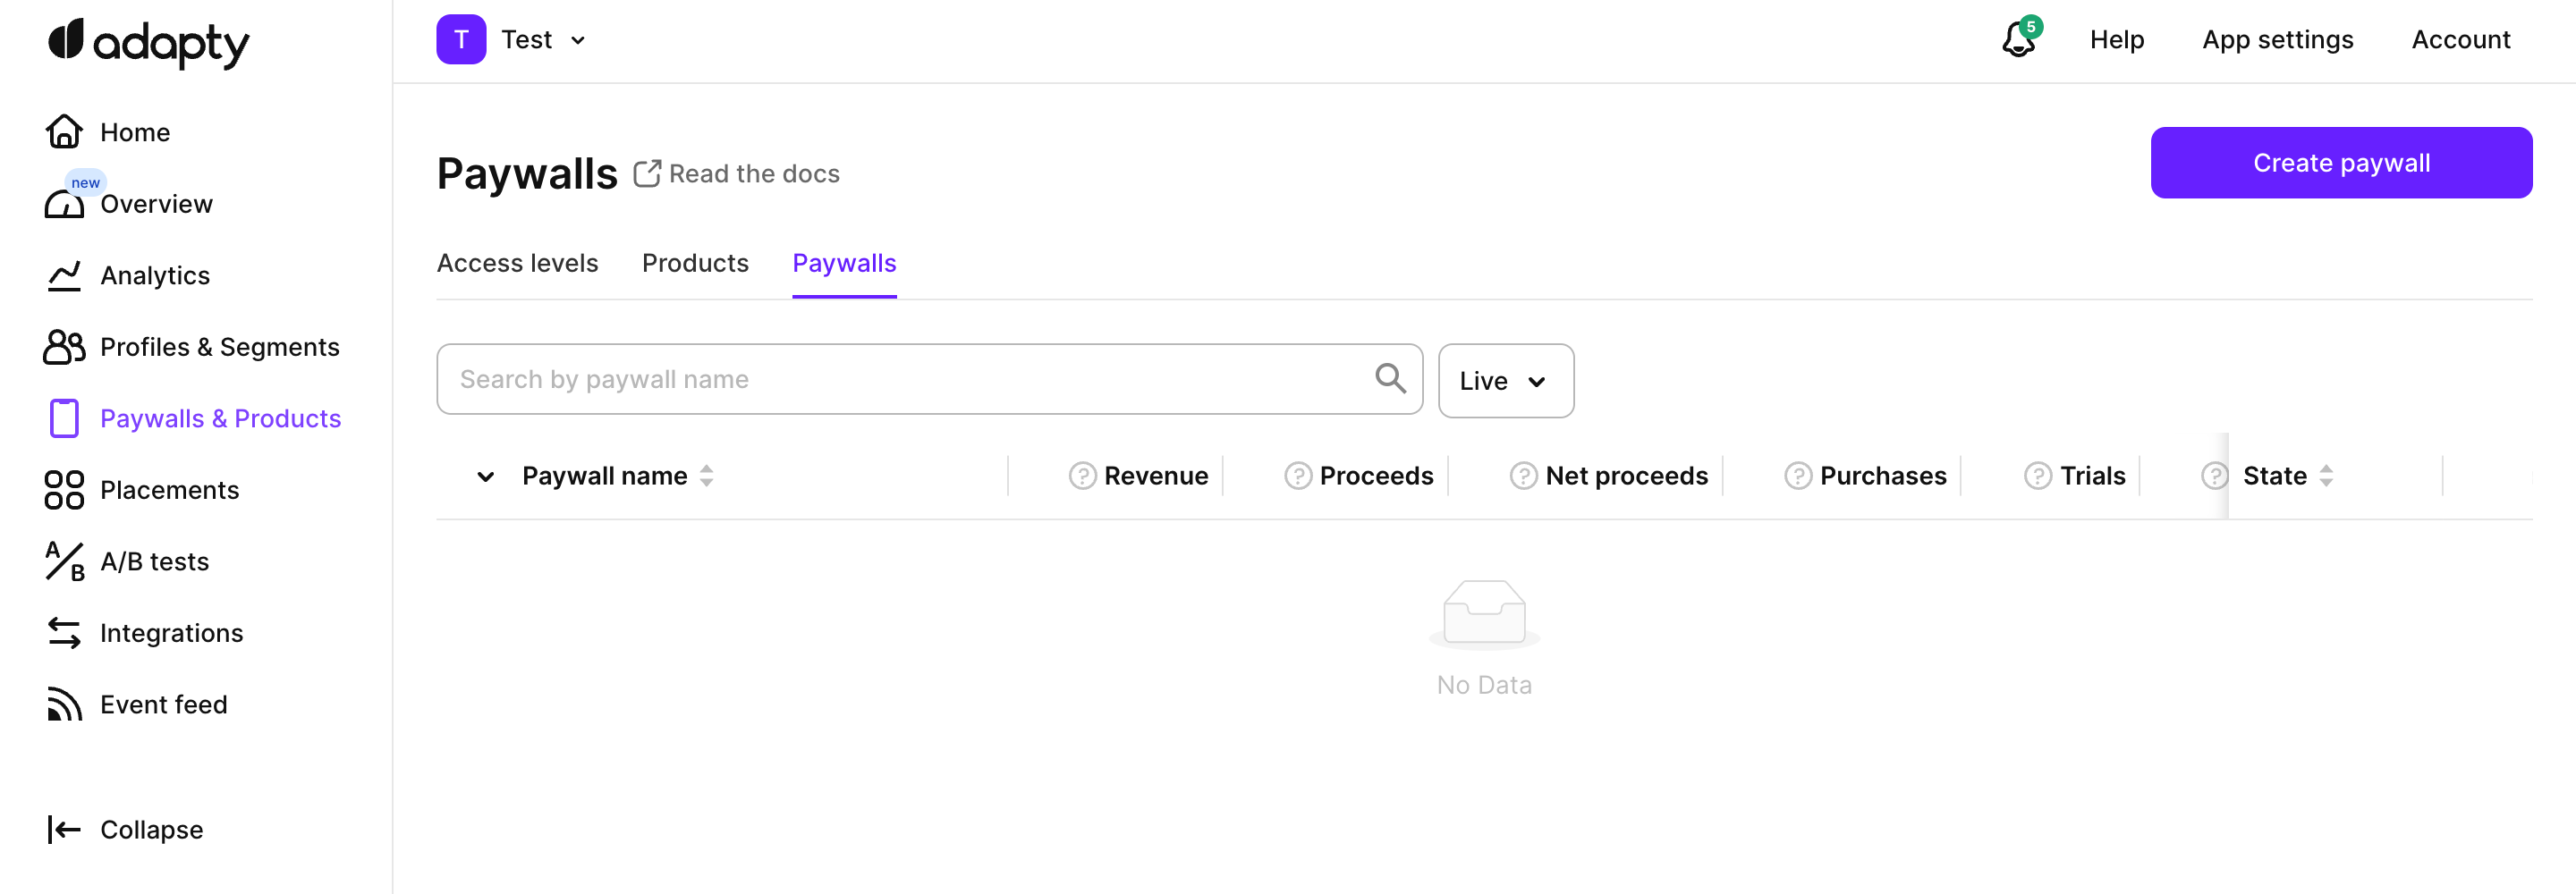
"✅" Correct: There is no banner
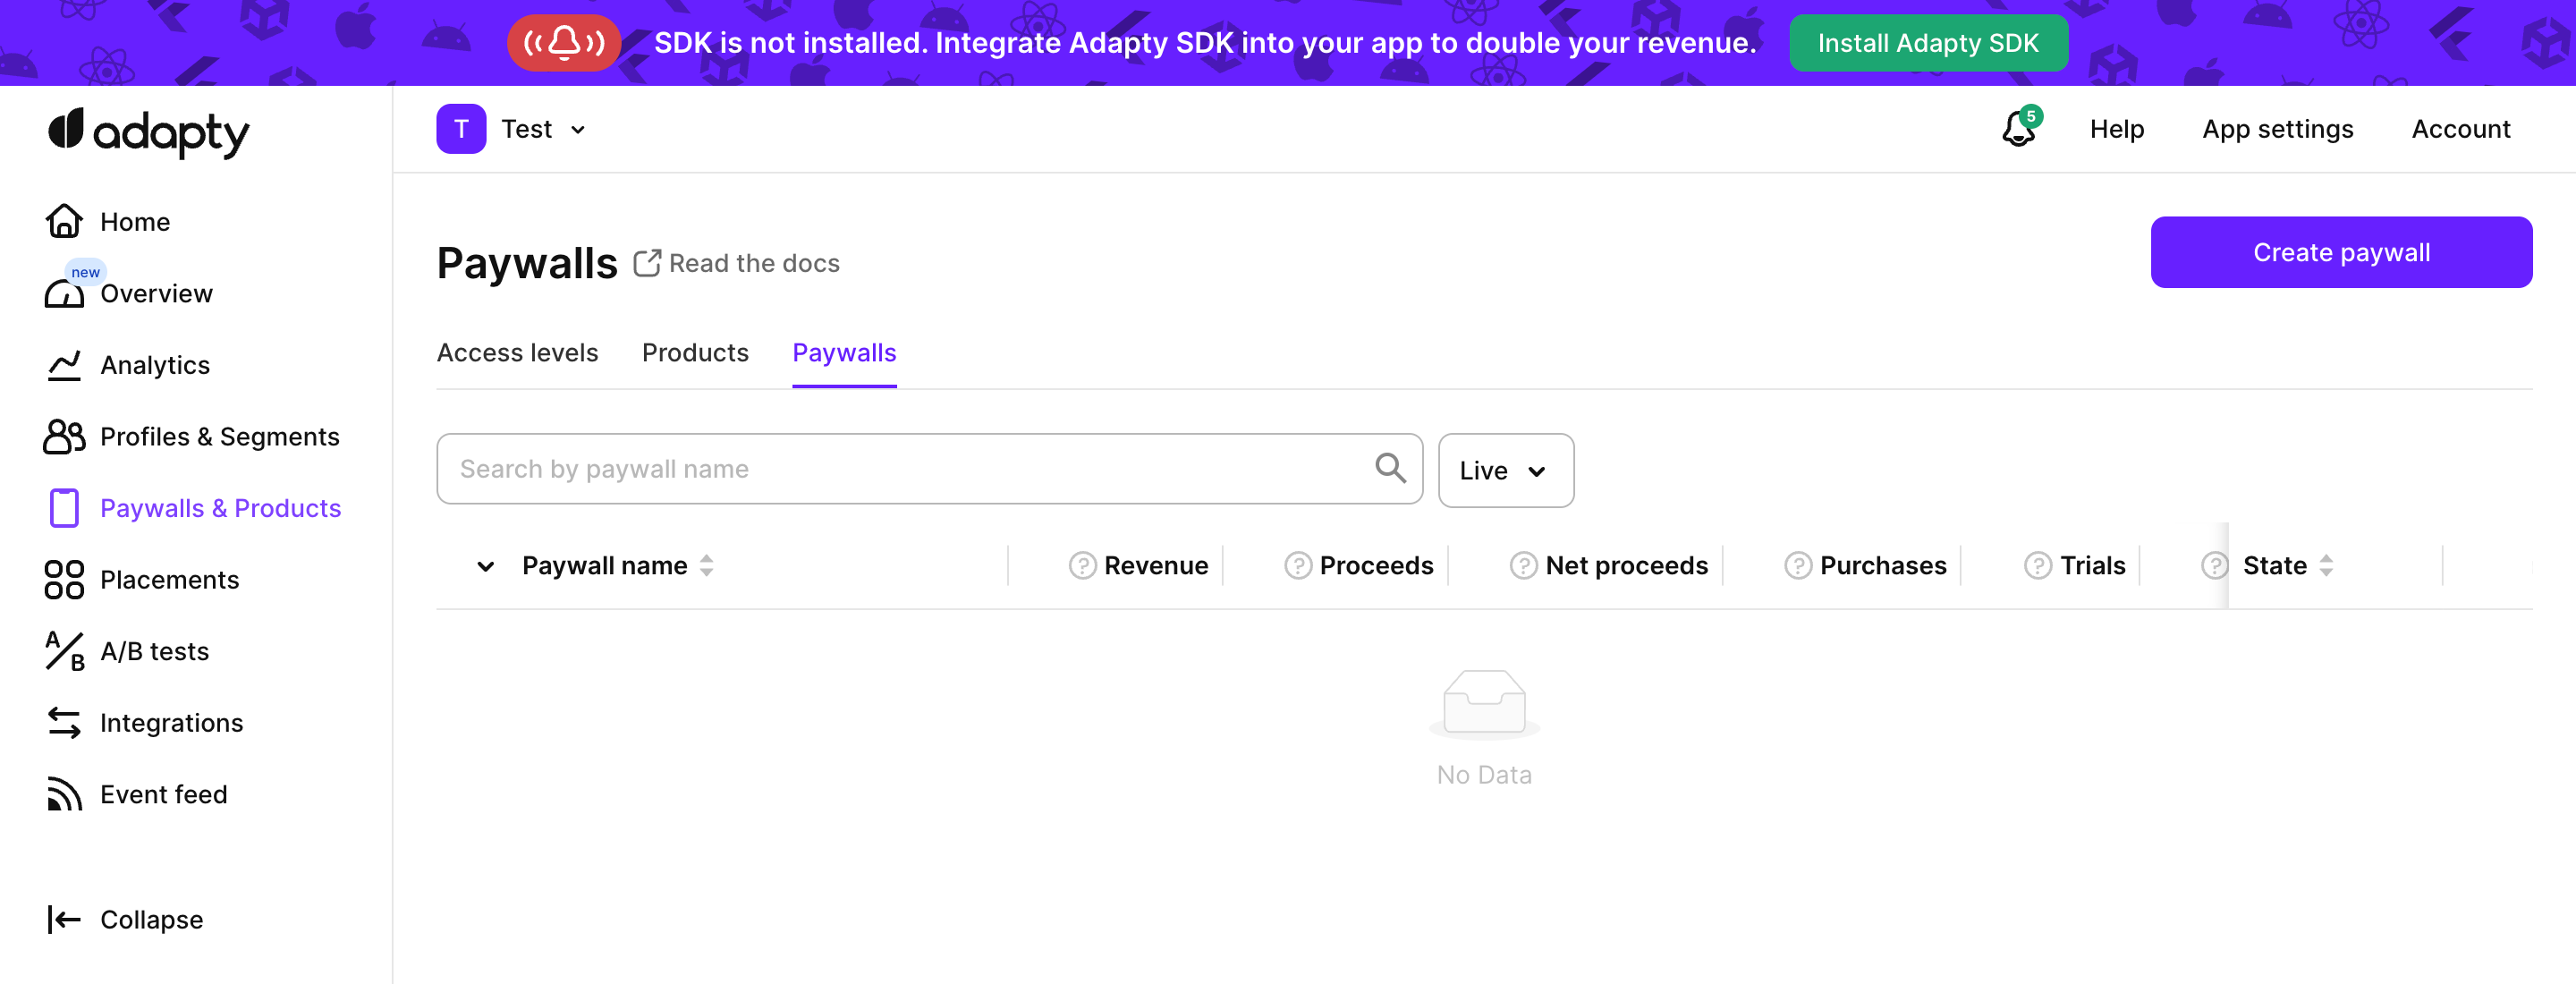
"❌" Not correct: The banner is present
-
The mobile platform icon is marked with green in the top-left App menu. Check now
Mobile platform icon screenshot for state verification (Click to Expand)
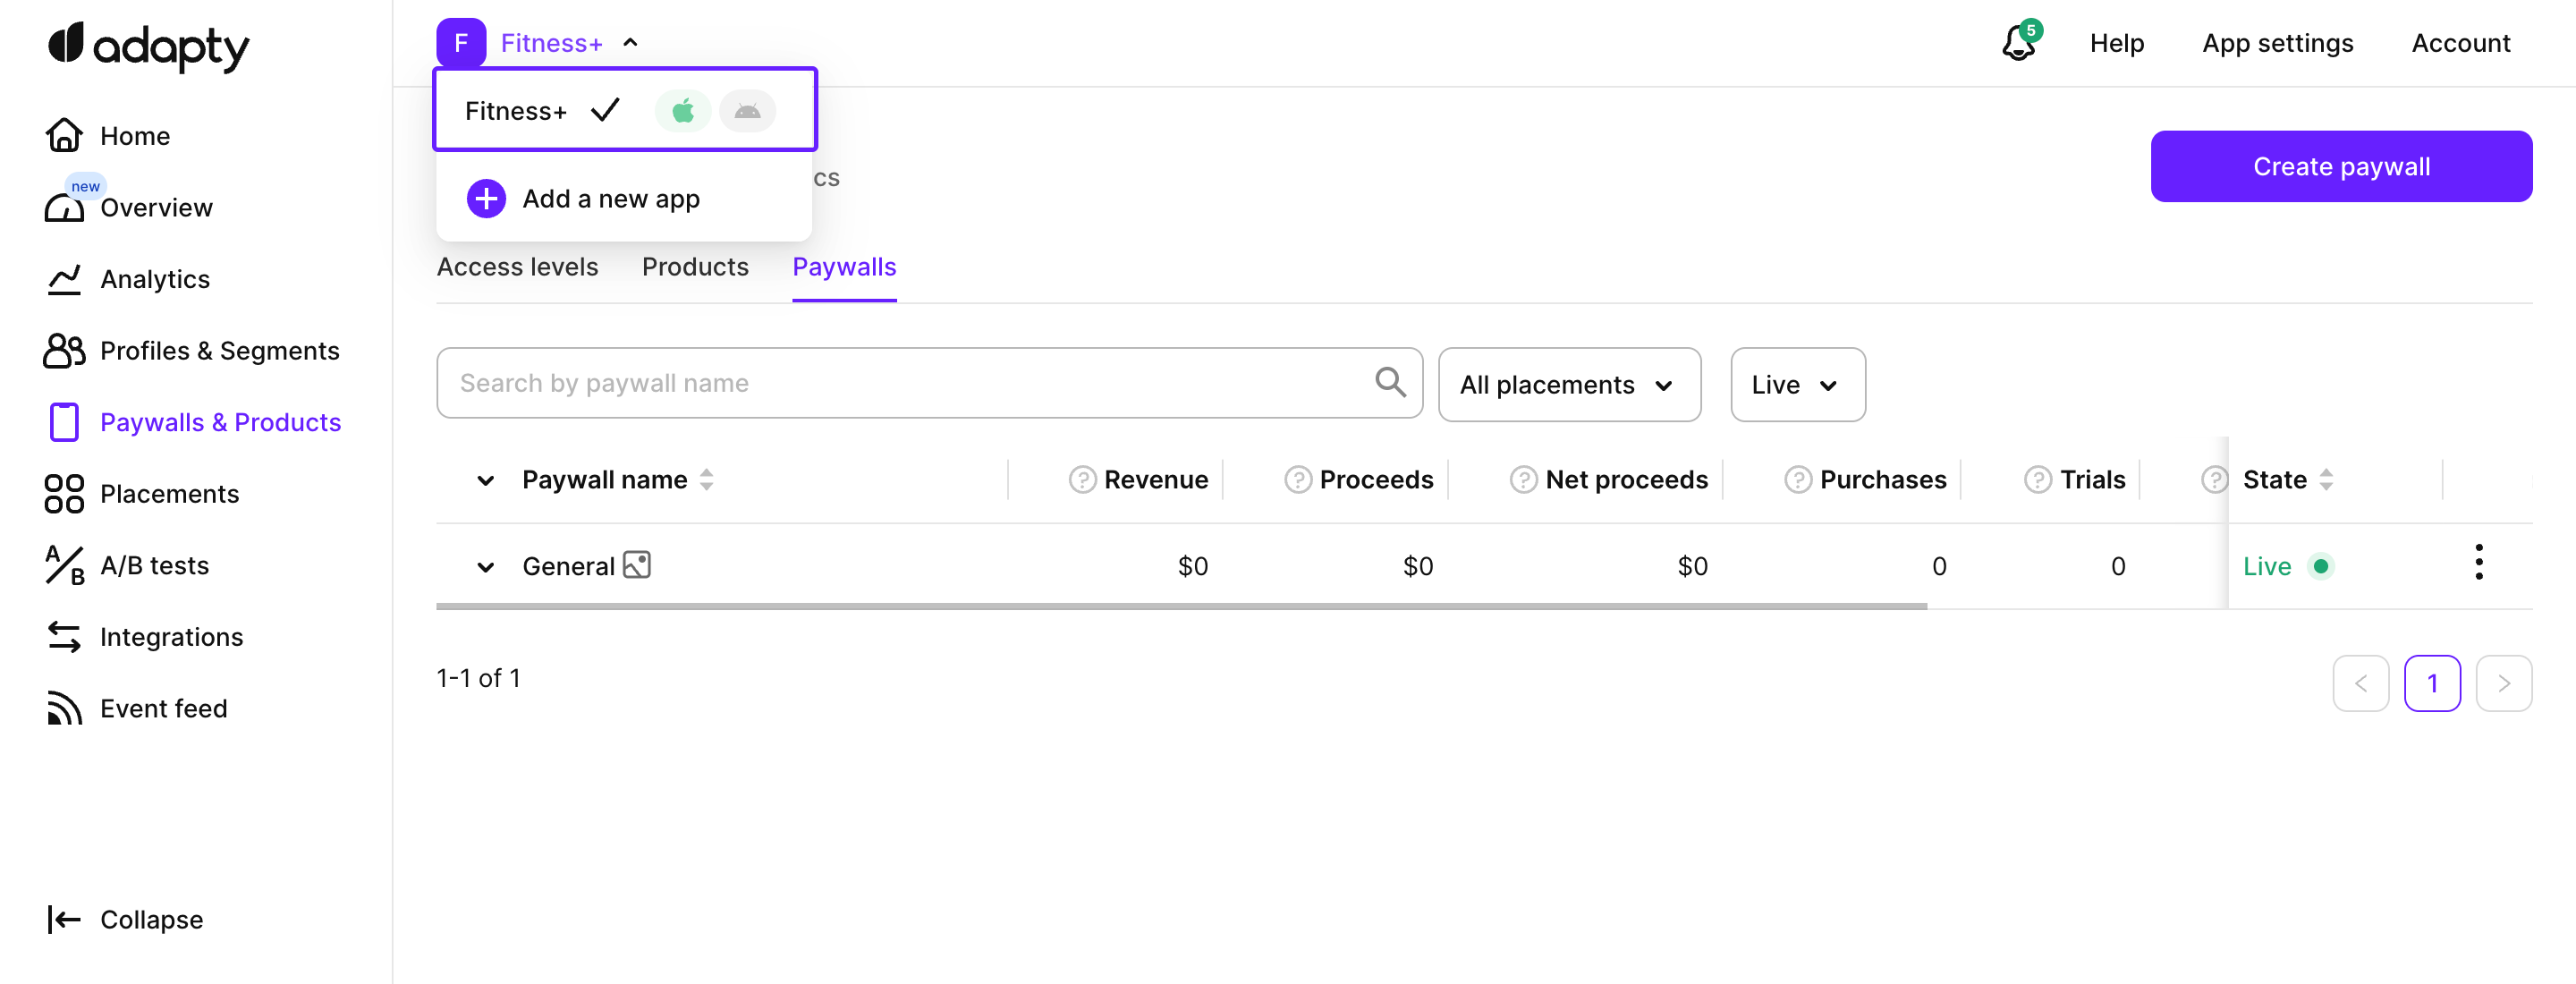
"✅" iOS SDK is successfully installed and working while "❌" Android SDK is not working
After the initial integration is complete, you can begin using Adapty's features.
Updated 19 days ago